Overview
1 Download and Install Pulse Agent
2 Onboard Gateway using BASIC Authentication
Steps
Download and Install Pulse Agent
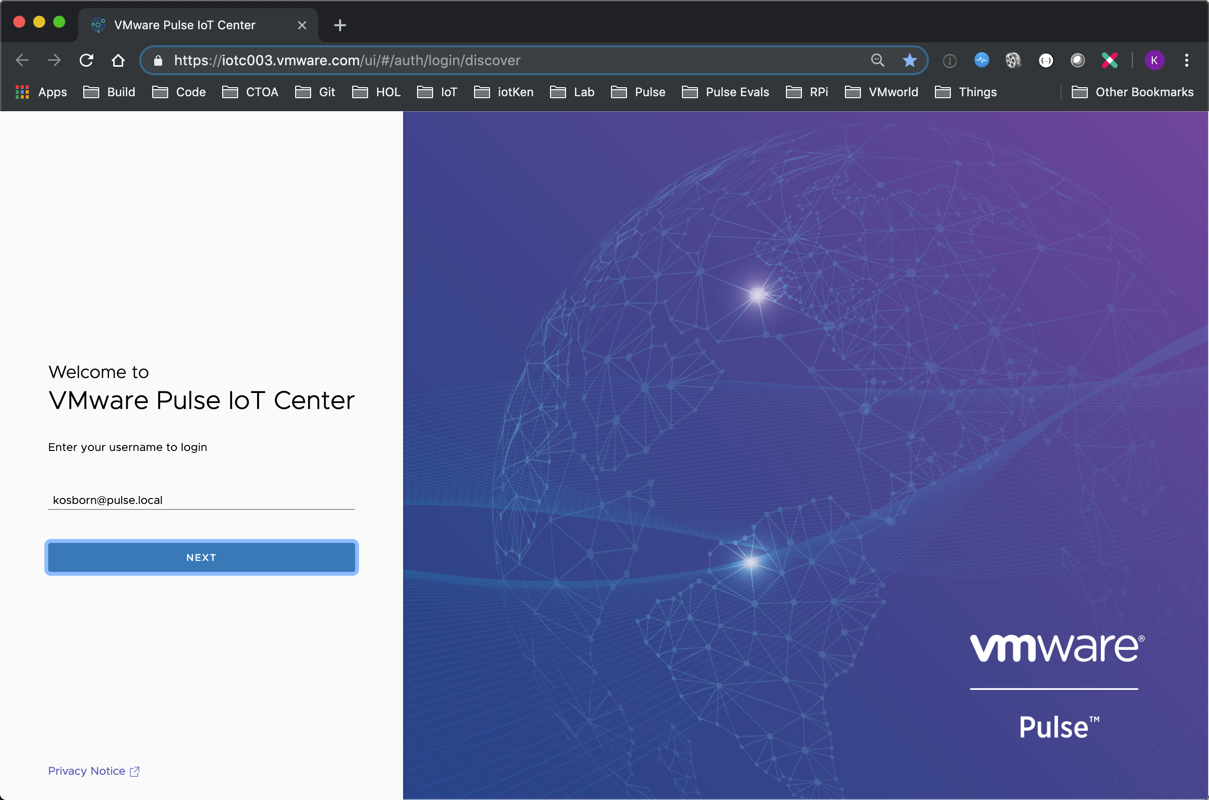
1 Login to Pulse Console if you are not already (link)
2 Username: [First Name Initial][Last Name]@pulse.local
Password: VMware1!
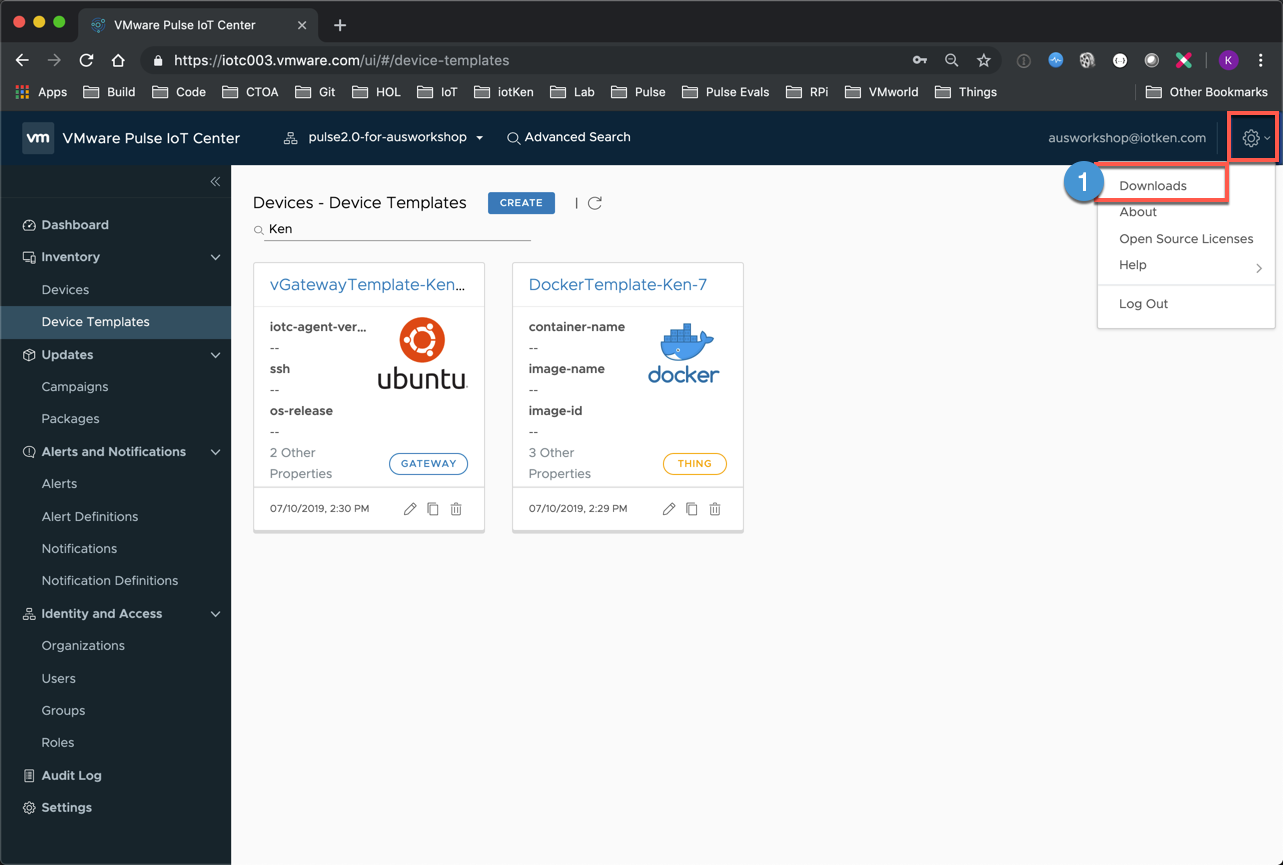
3 Click Gear Icon and Select Downloads
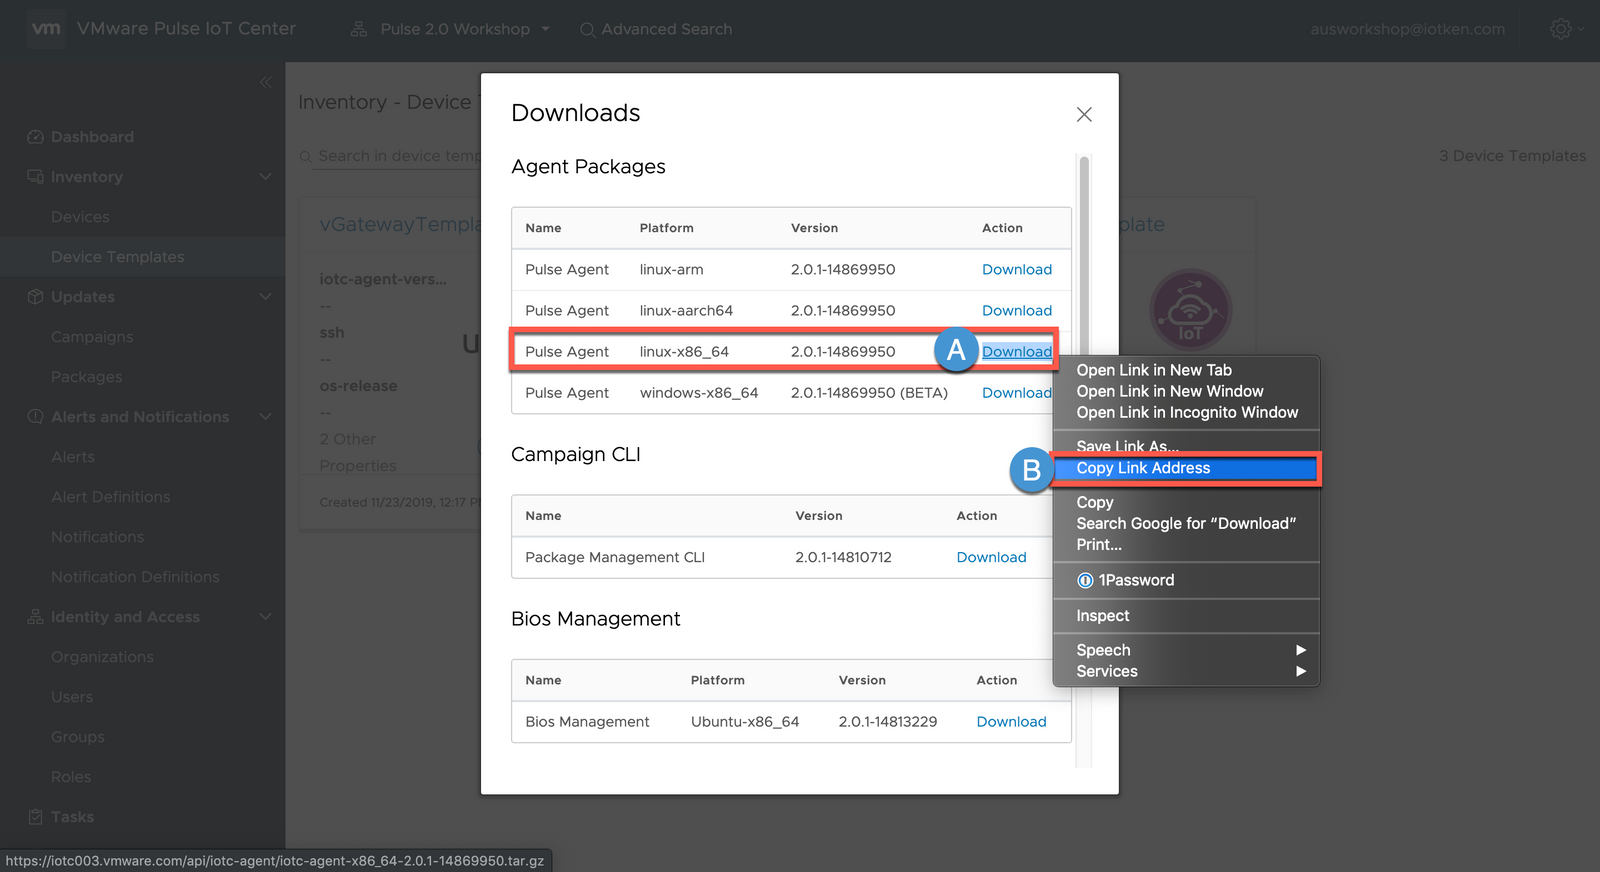
4A Right-click the 'Pulse Agent linux-x86_64 2.0.1-14869950 Download' link
4B Select Copy Link Address
5 SSH to your Virtual Gateway (local Ubuntu Virtual Machine using MacOS Terminal or Windows Putty Client) and issue the following commands
ssh username@[IP address]

6 su up
sudo su

7 cd /tmp
curl -o iotc-agent.tar.gz (paste in download link from your clipboard)

8 Extract the downloaded tarball, change into the expanded directory and run ./install.sh
tar -xvf iotc-agent.tar.gz
cd iotc-agent
./install.sh

Onboard Gateway using BASIC Authentication
1 Confirm that the Pulse Agent is running (note that you may see errors in your output - these are expected at this time)
service iotc-agent status

(Press Q or CTRL-C to break out of the service status view)
4 Change into the Pulse Agent bin directory
cd /opt/vmware/iotc-agent/bin

5 Run the DefaultClient with the help parameter to examine commands that are available (note the various ‘enroll’ options near the top).
./DefaultClient help | more
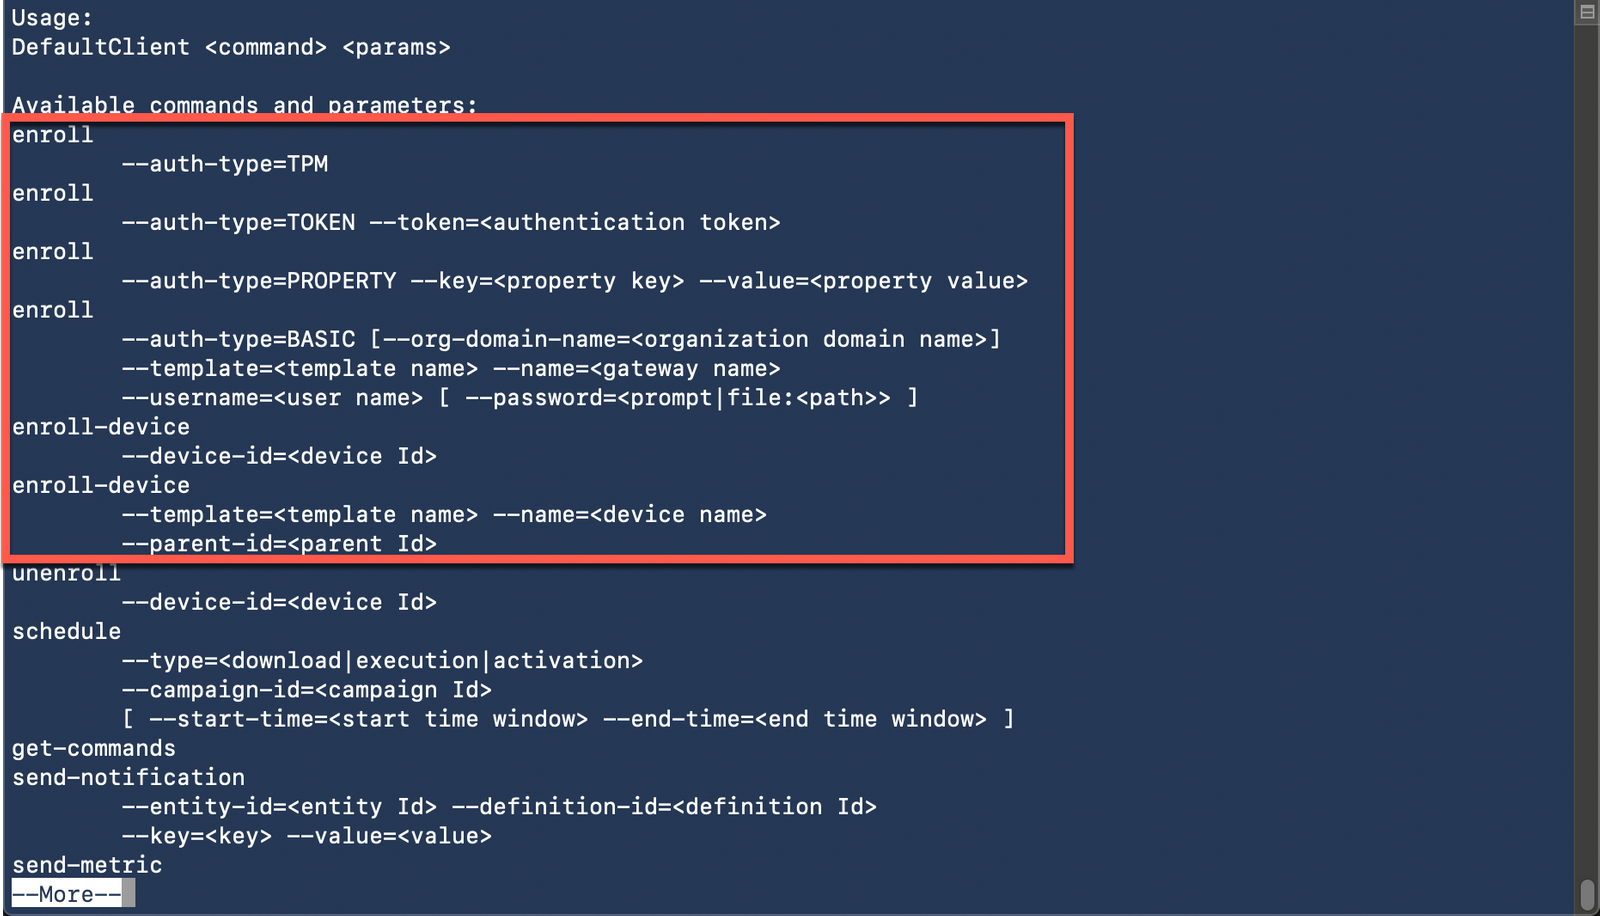
(Press Q or CTRL-C to exit, or press any key to continue scrolling)
6 Cat the following file to indicate the syntax you should type to onboard your gateway (this file was created when you ran the vGatewayPrep.sh script earlier). Replace ‘kosborn’ with your username
cat /home/kosborn/workshop/onboardSyntax.txt

7A Highlight and Copy everything up to the
7B Type in your Username then press enter
7C Type in your Password then press enter
./DefaultClient enroll --auth-type=BASIC --template=vGatewayTemplate-Ken-7 --name=vGateway-Ken-7 --username=(your assigned Pulse IoT Center User Name@pulse.local)

(Note that ‘Enroll gateway device successful.’ indicates that the Gateway was successfully registered and enrolled in the Pulse Console. We also observe that a unique Device Id has been generated in Pulse for this Device/Gateway).
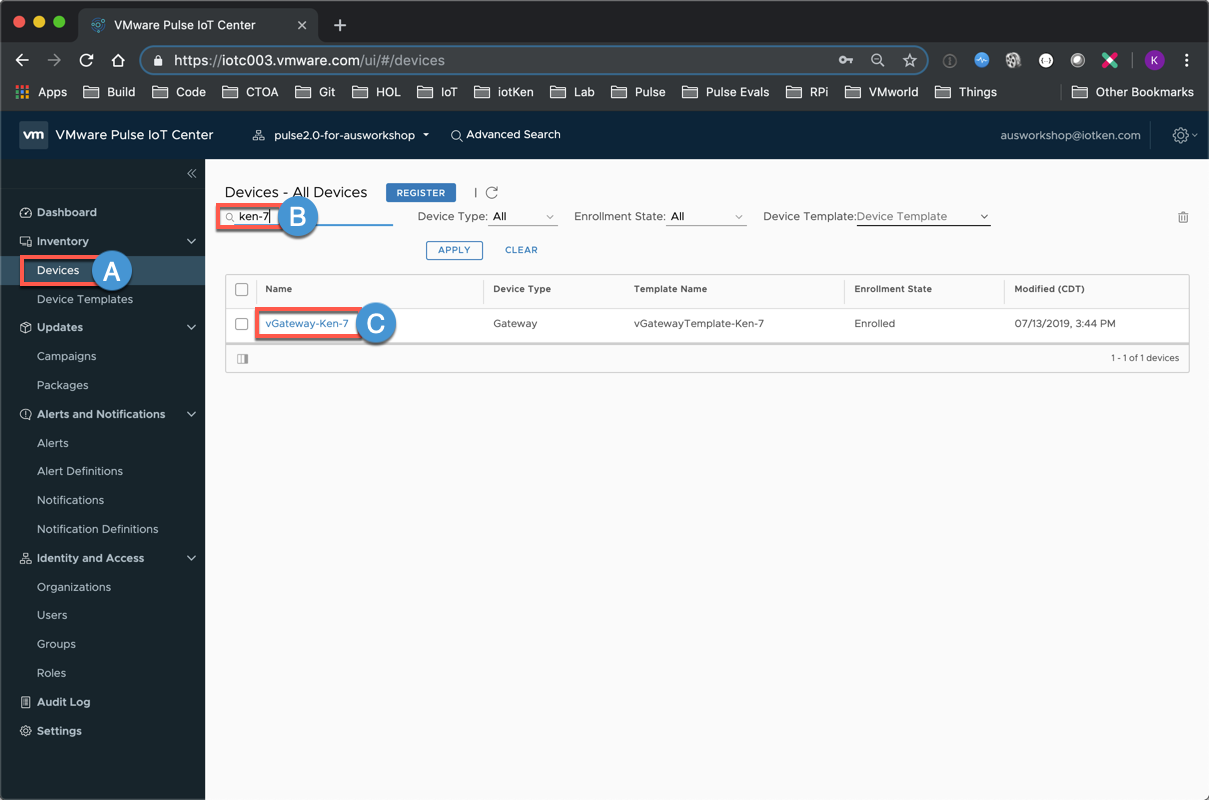
9A Return to the Pulse Console (Chrome Browser) and select Devices
9B Enter [FirstName]-[Number] in the Search filter field and note that your Gateway is now present and Enrolled
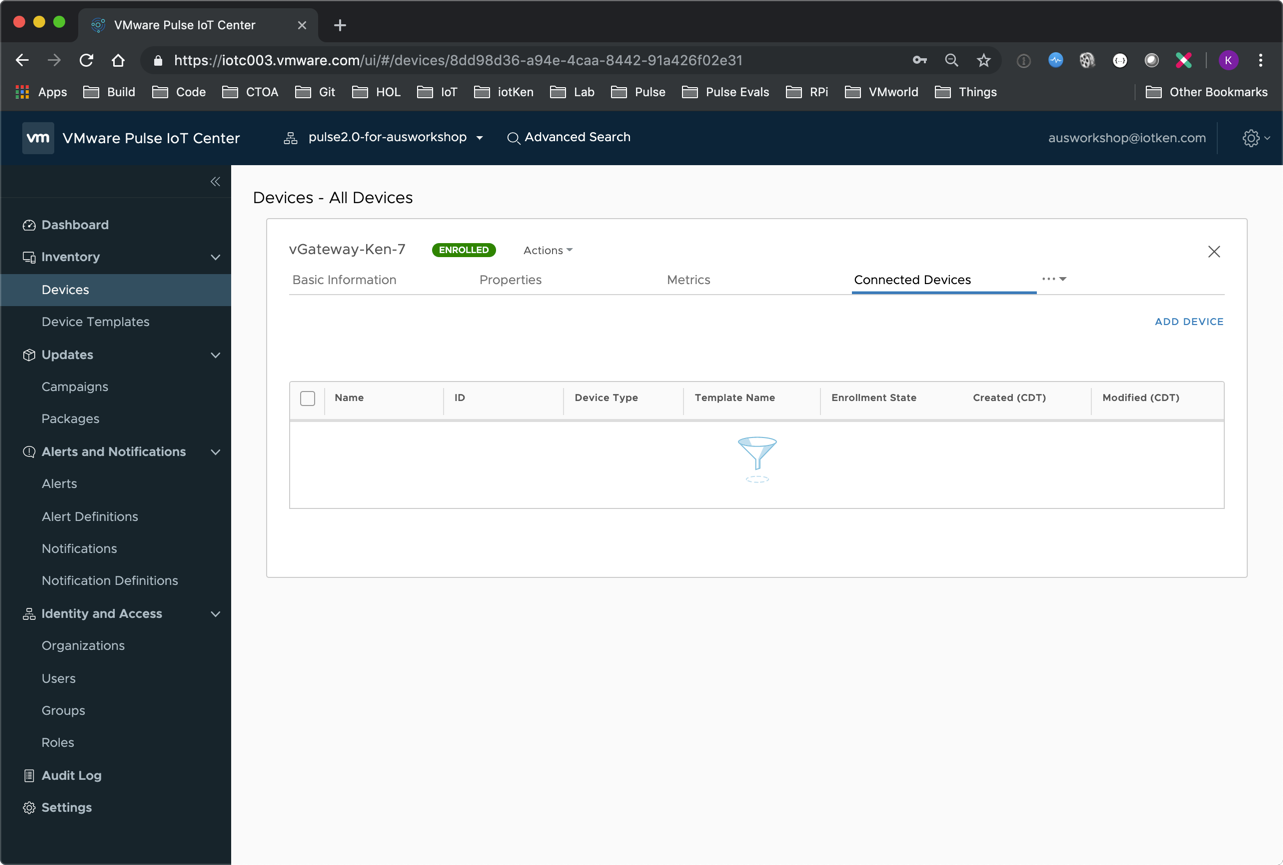
9C Click on your Gateway
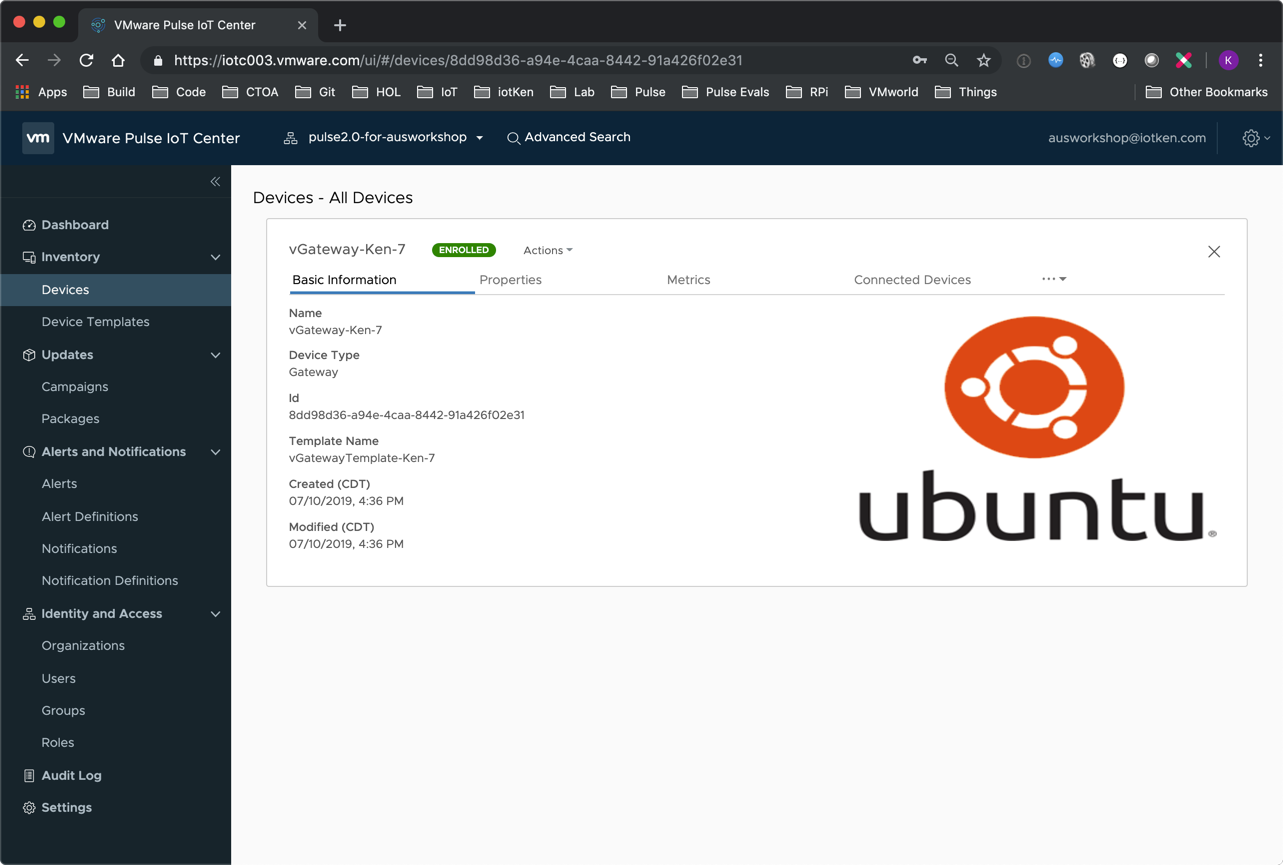
10 Note the Basic information that is present (Friendly Gateway Name, Unique Id, Template that the Gateway was enrolled via, etc.)
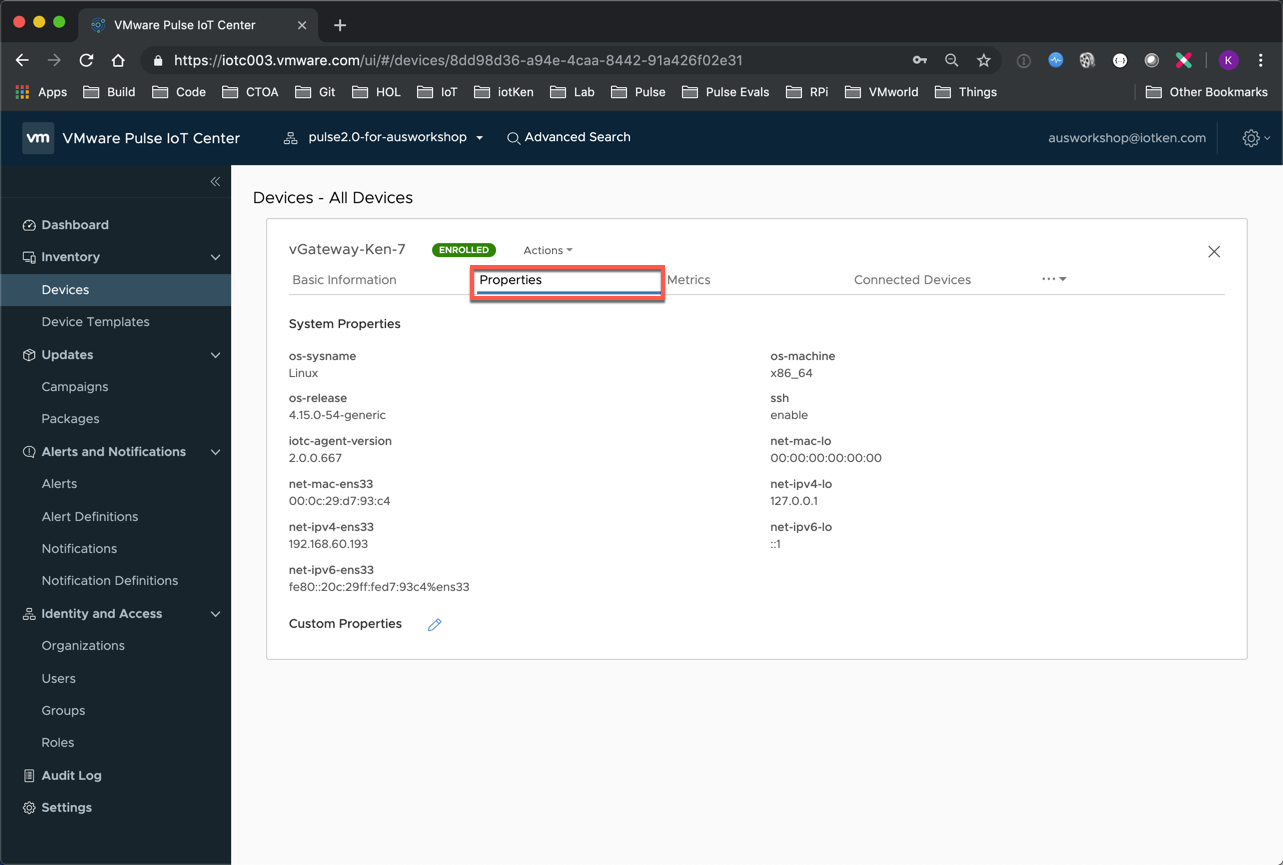
11 Select Properties and note the information that is present (this information is being populated via the Pulse Agent on the Gateway and is customizable. We can - and will later in this workshop - send in additional Properties like Docker information, etc.).
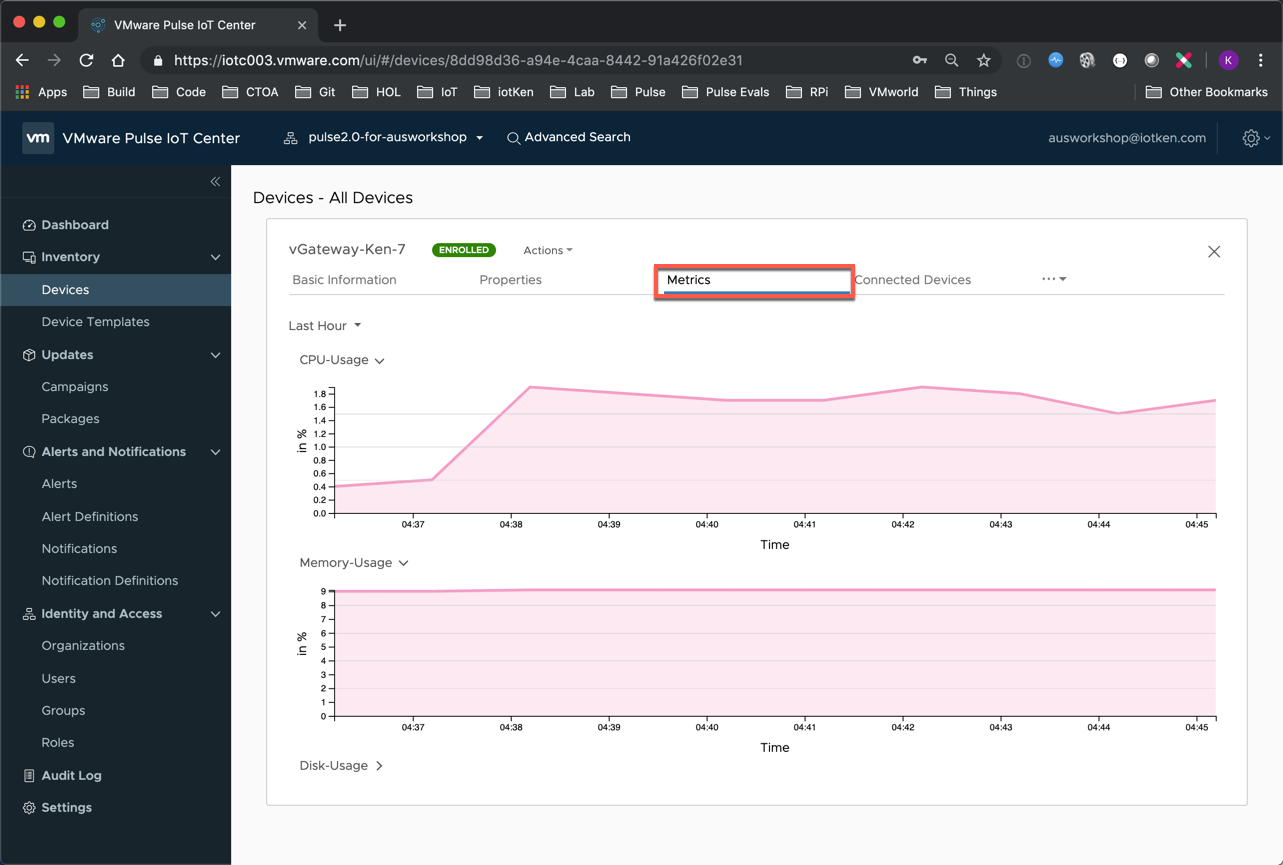
12 Select Metrics and expand the Utilization Graphs (note that it can take 10-15 minutes for your Metrics to start populating, proceed to the next step for now)
13 Select Connected Devices and note that we currently have no IoT Connected Things associated with the Gateway (we will add a Virtual IoT Sensor as well as Docker Containers in later Workshop lessons)
<Thank you - this concludes our ‘Onboard Gateway' Lesson>
comments powered by Disqus