Overview
1 Download Pulse IoT Center On-Premises Version
2 Create New Fusion Pulse IoTC Virtual Machine
3 Configure Pulse IoT Center Server Node
4 Login to Pulse IoT Center
This guide will show you the steps necessary to install Pulse IoT Center On-Premises v2.0.1 using VMware Fusion on MacOS in a single-node configuration. We’ll be utilizing the flexibility of a dynamically assigned IP address for Pulse vs. static assignment.
Note: This configuration is recommended for Lab Testing only (not Production Usage)
Pre-Requisites
- VMware Fusion Eval or Permanent License
- Pulse IoT Center Permanent License (or you can utilize trial license)
- (Optional) DNS Server with forward/reverse entry for Pulse Virtual Machine IP Address
Download Pulse IoT Center On-Premises Version
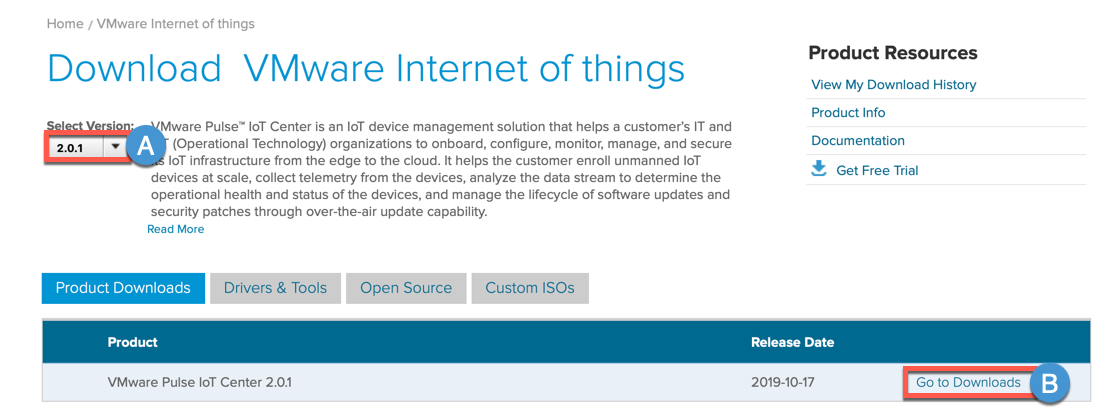
1A Select desired Pulse IoT Center version (link)
1B Click Go to Downloads
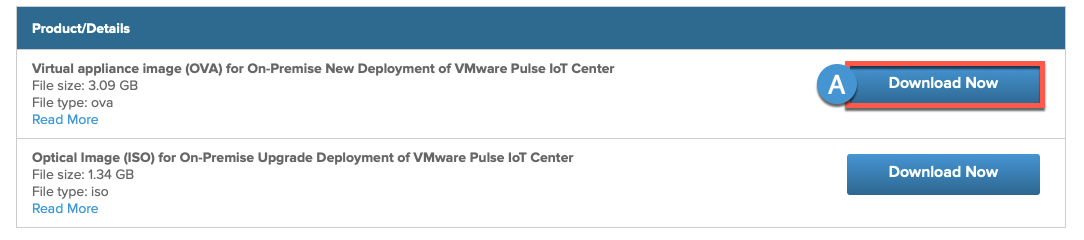
2A Click Download Now (Virtual appliance image (OVA) for On-Premise New Deployment of VMware Pulse IoT Center)
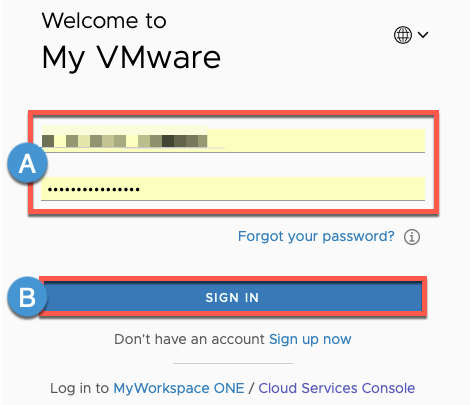
3A Enter your My VMware Credentials
3B Click SIGN IN
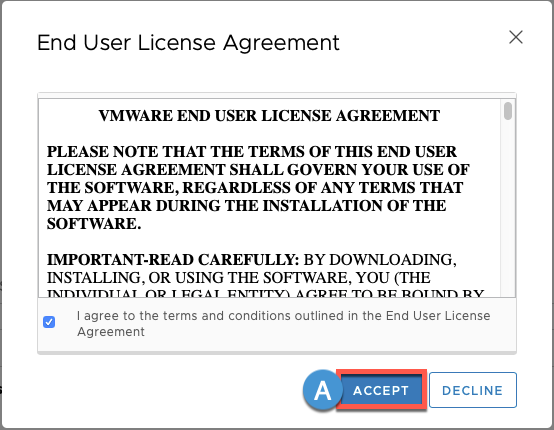
4A Enable End User License Agreement checkbox and click ACCEPT
Create New Fusion Pulse IoTC Virtual Machine
1A (Optional) Create New Folder ‘Pulse IoT Center’ (not shown)
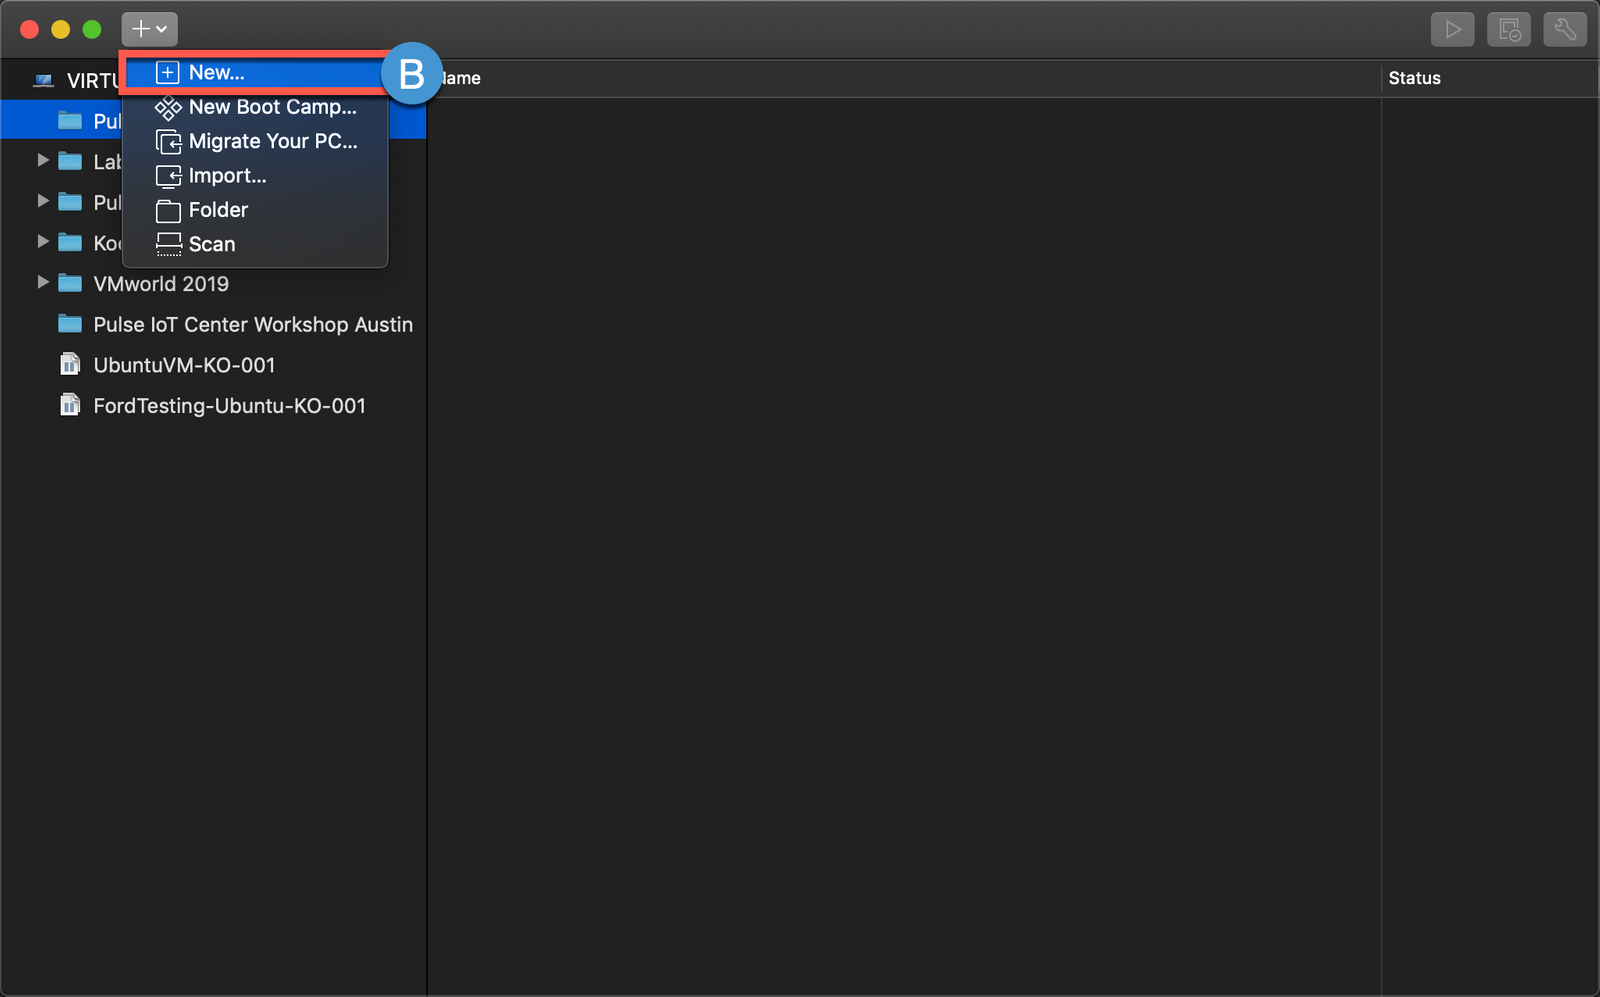
1B Select + icon and click [+] New…
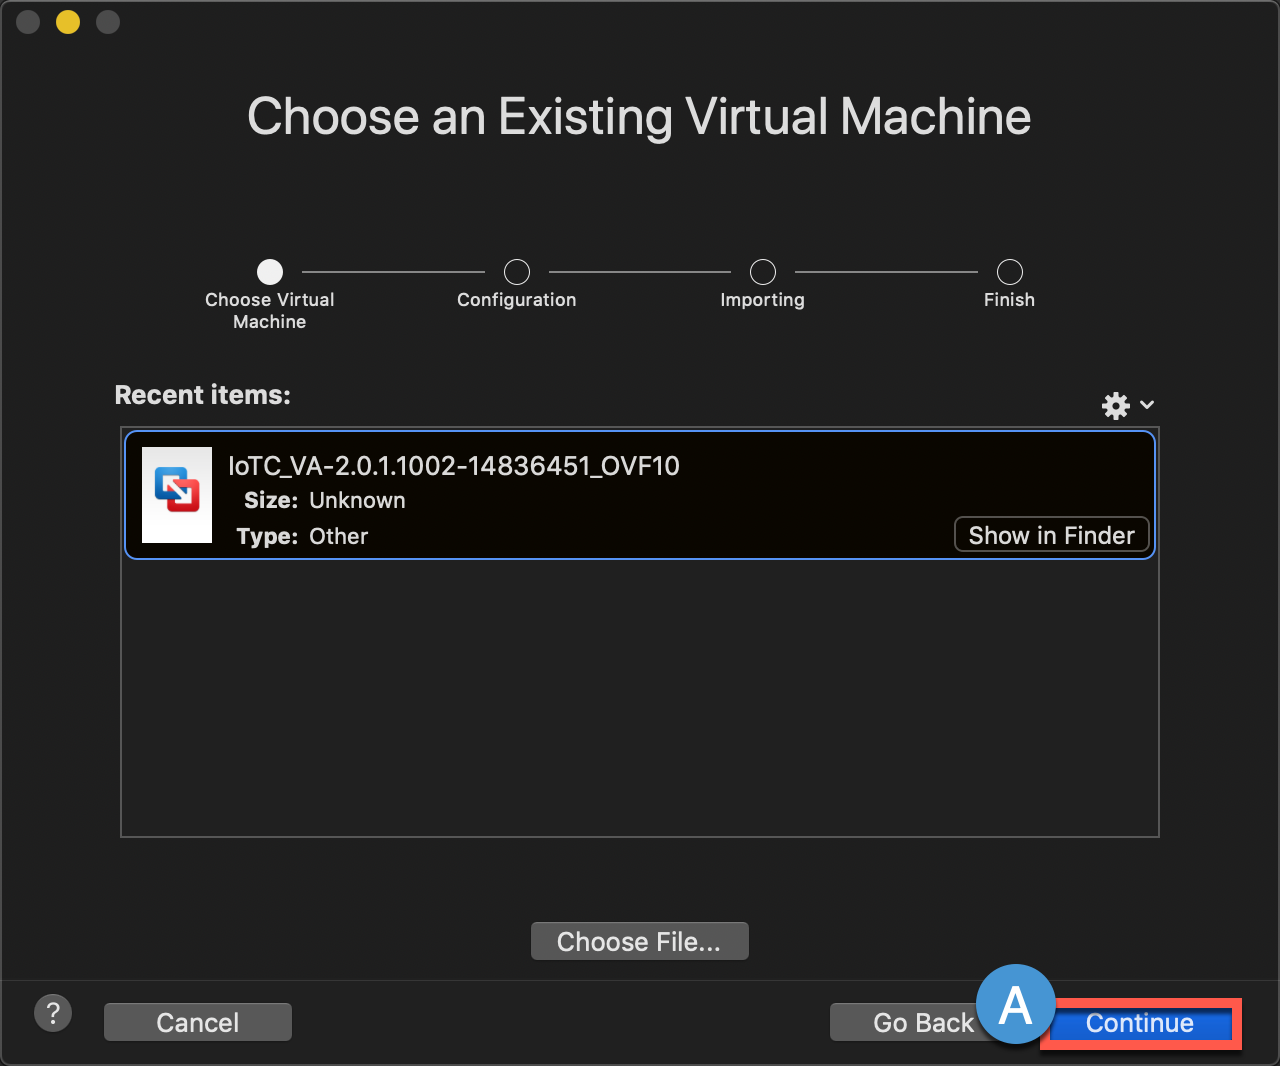
2A Drag Downloaded IoTC .iso onto Install from disc or image

3A Click Continue
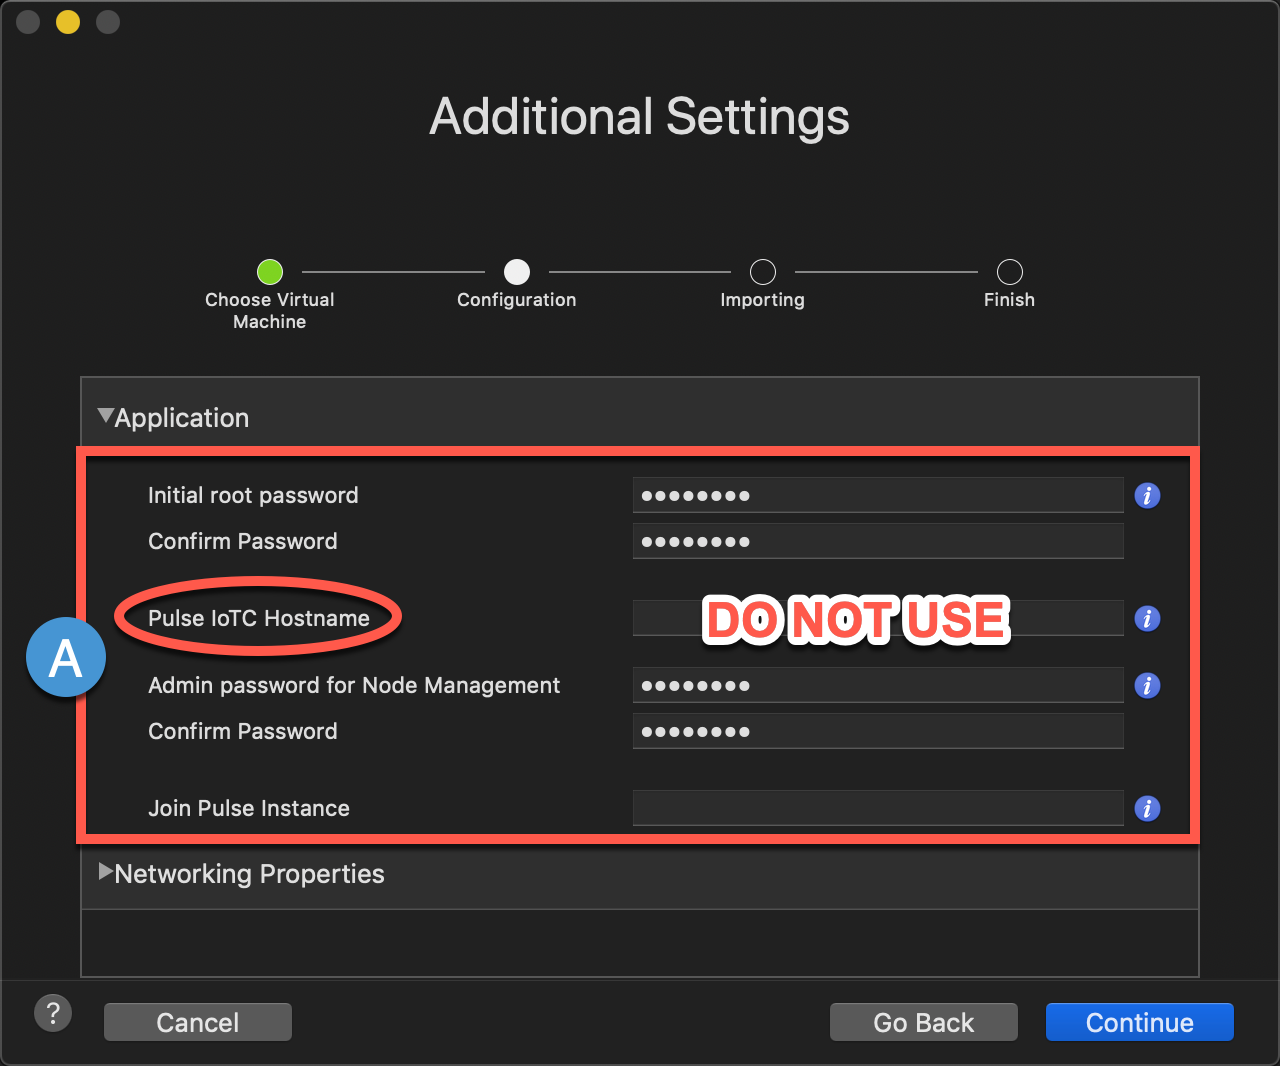
4A Expand Application and enter values
Initial root password : VMware1! (or choose your own)
Confirm password : VMware1! (or choose your own)
Pulse IoTC Hostname : (leave blank, unless you have a DNS Server in your Lab Environment)
Admin password for Node Management: VMware1! (or choose your own)
Confirm Password : VMware1! (or choose your own)
Join Pulse Instance : (leave blank)
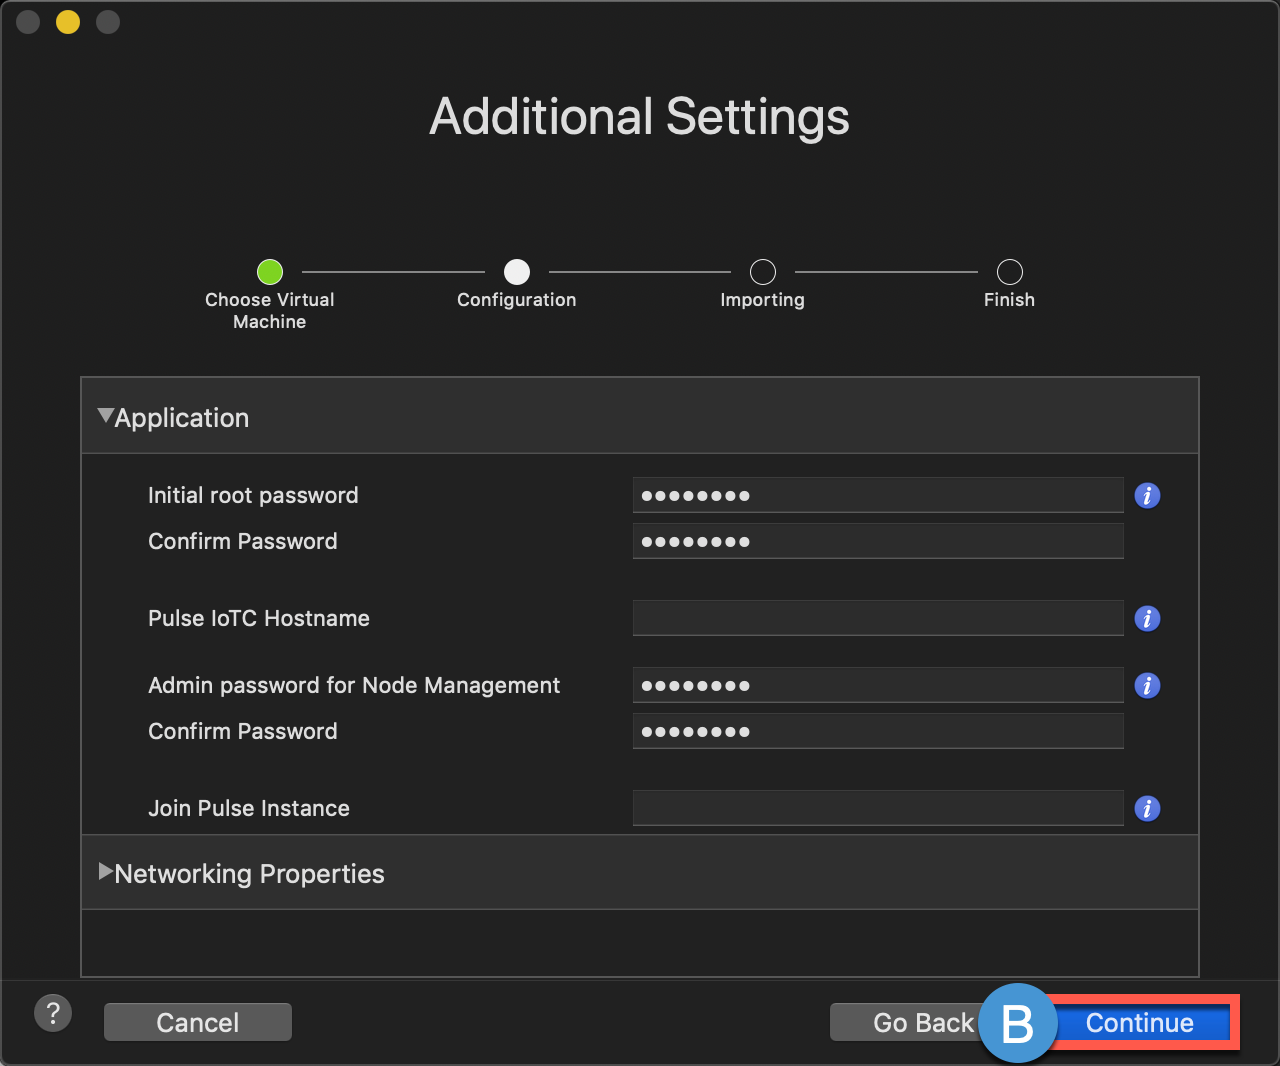
4B Click Continue
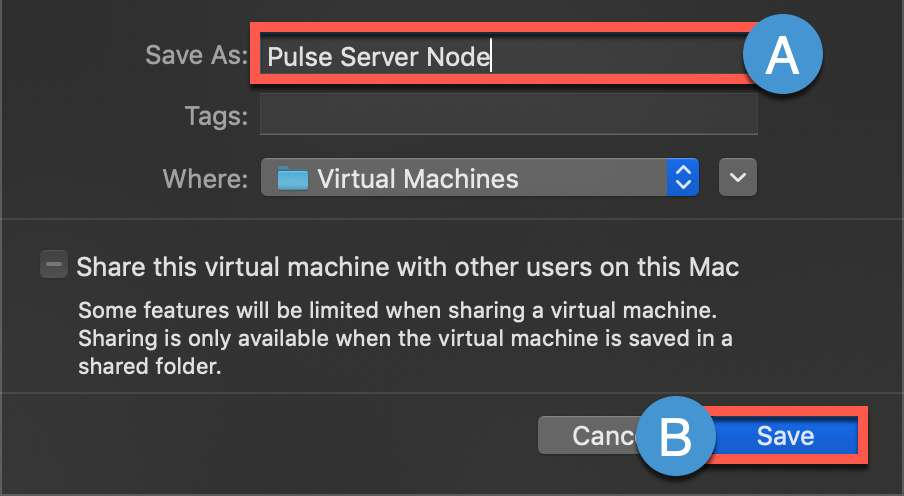
5A Re-name Save As: Pulse Server Node
5B Click Save
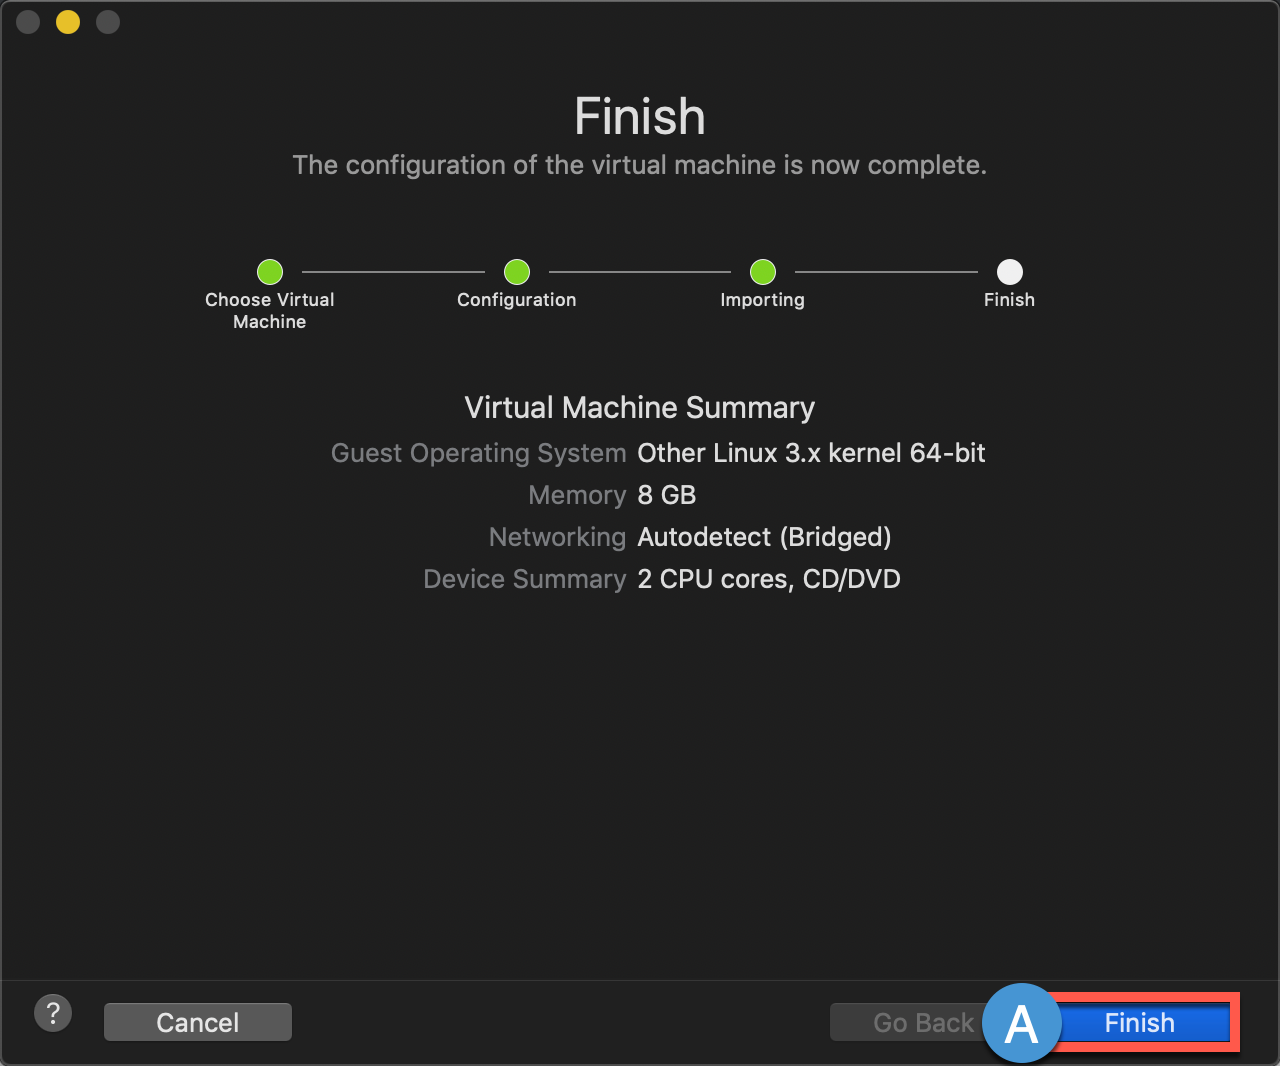
6A Click Finish
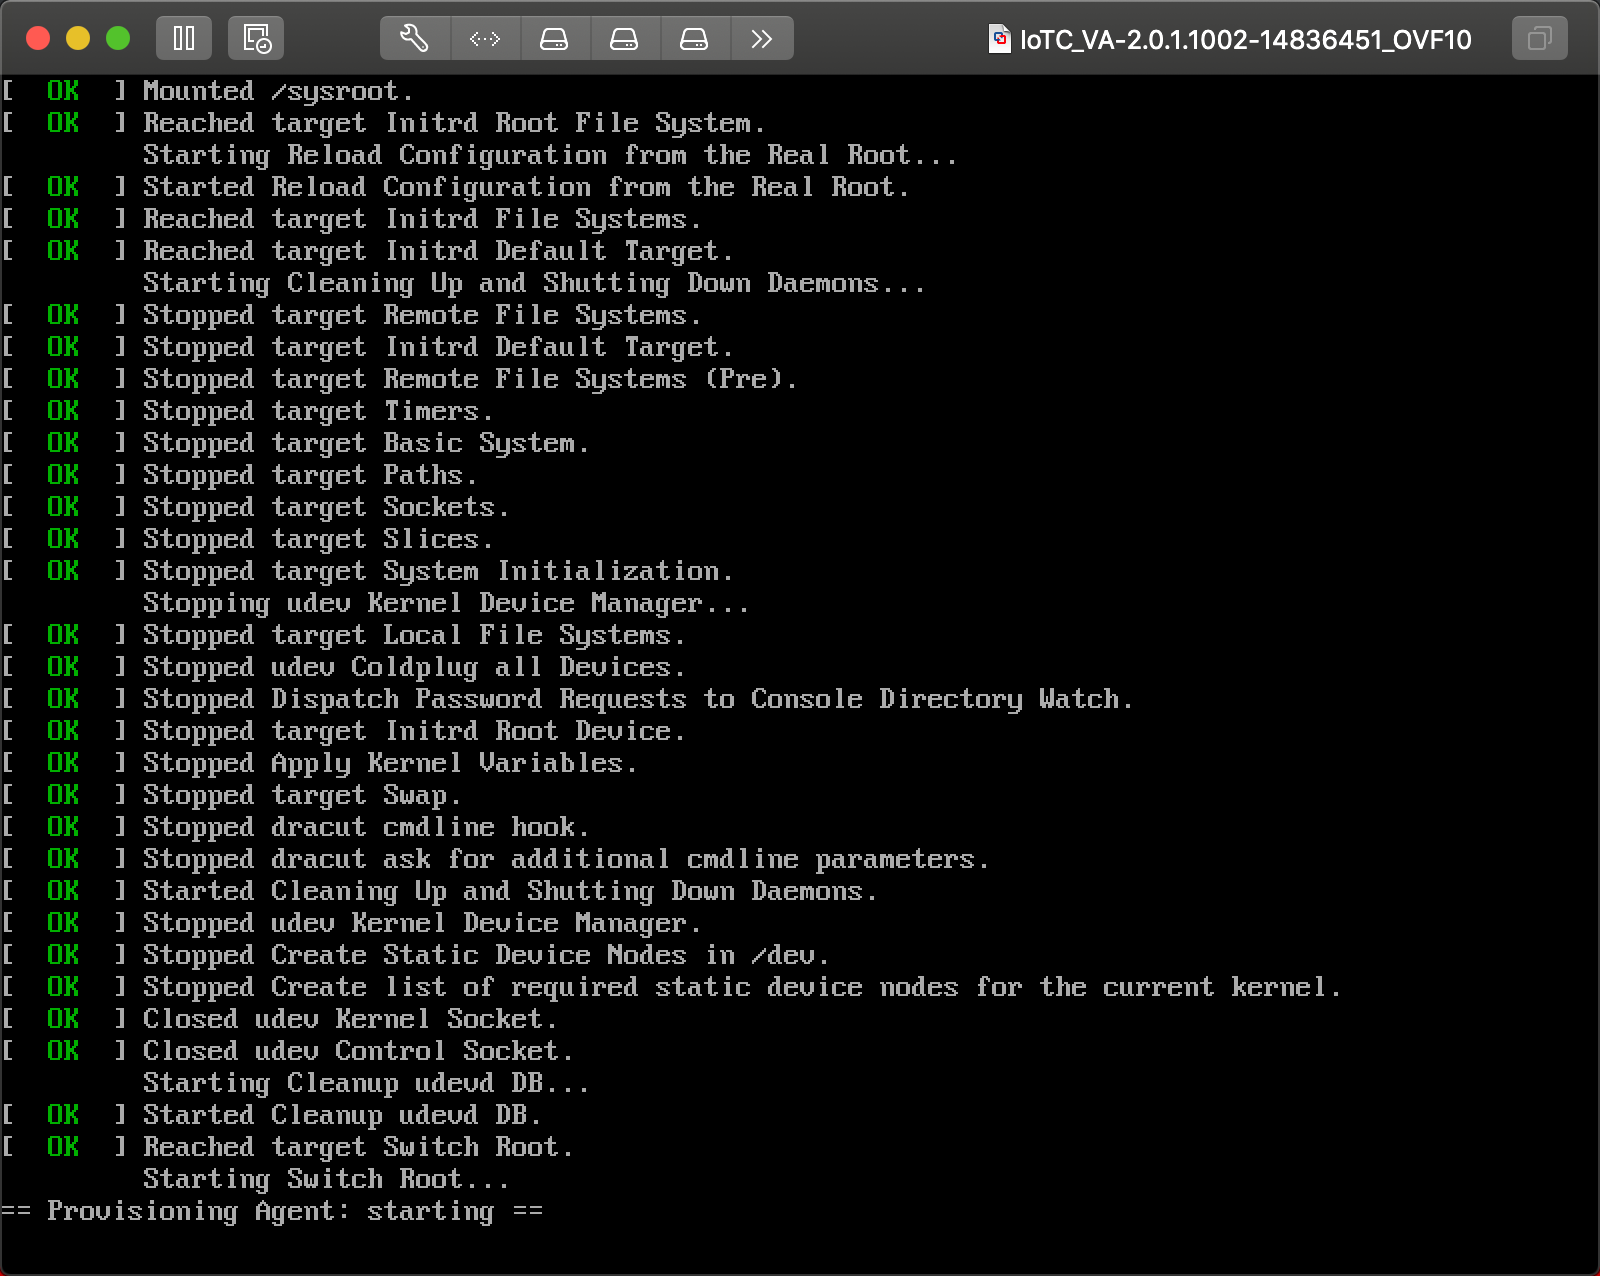
7A Monitor Boot Process until complete
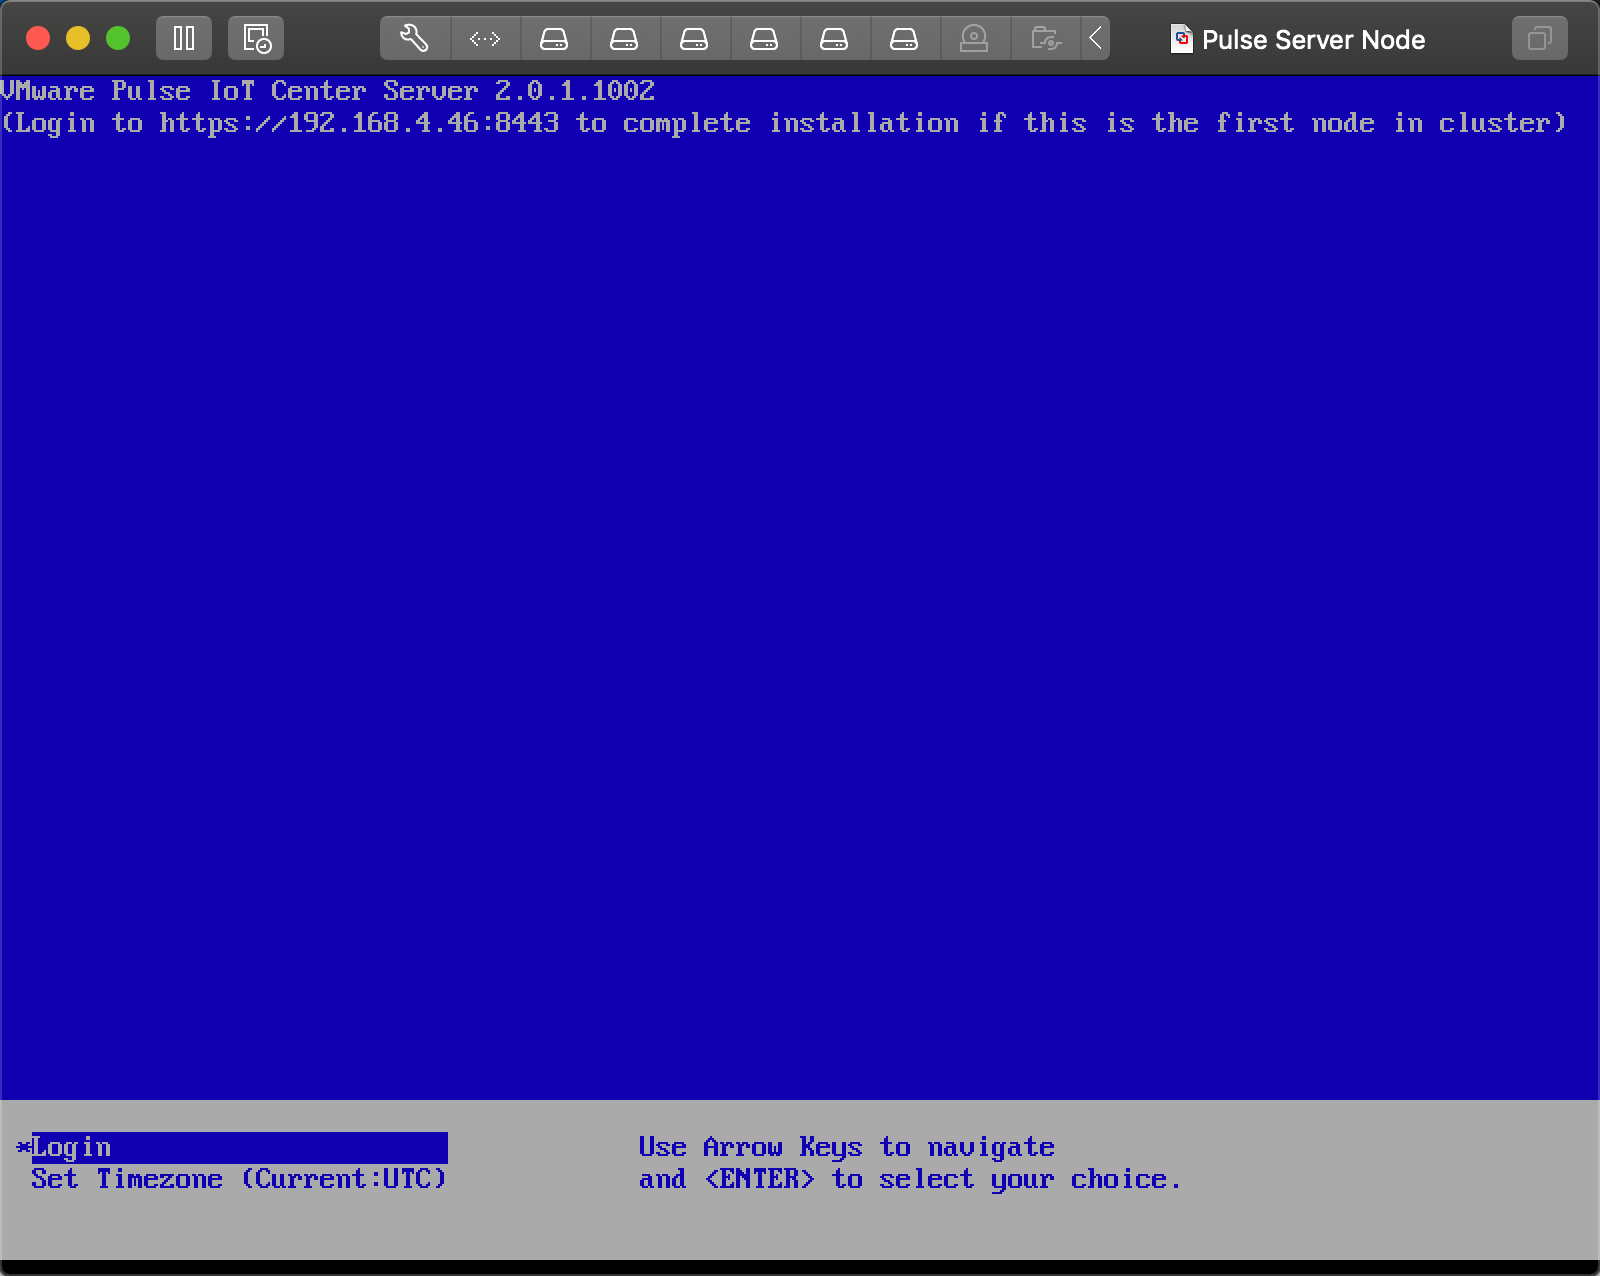
8A Make note of the IP Address (since the VM is in Fusion\Networking ‘Bridged’ mode, it is pulling an IP Assignment from a DHCP Server elsewhere on your Network. Most likely you’ll want to configure that DHCP Server with a DHCP Reservation for the Pulse VM so it retains this assignment and/or you can assign/reserve whatever IP address you like).
Configure Pulse IoT Center Server Node
1A Launch Chrome and navigate to your Pulse Server (https://your ip address:8443)
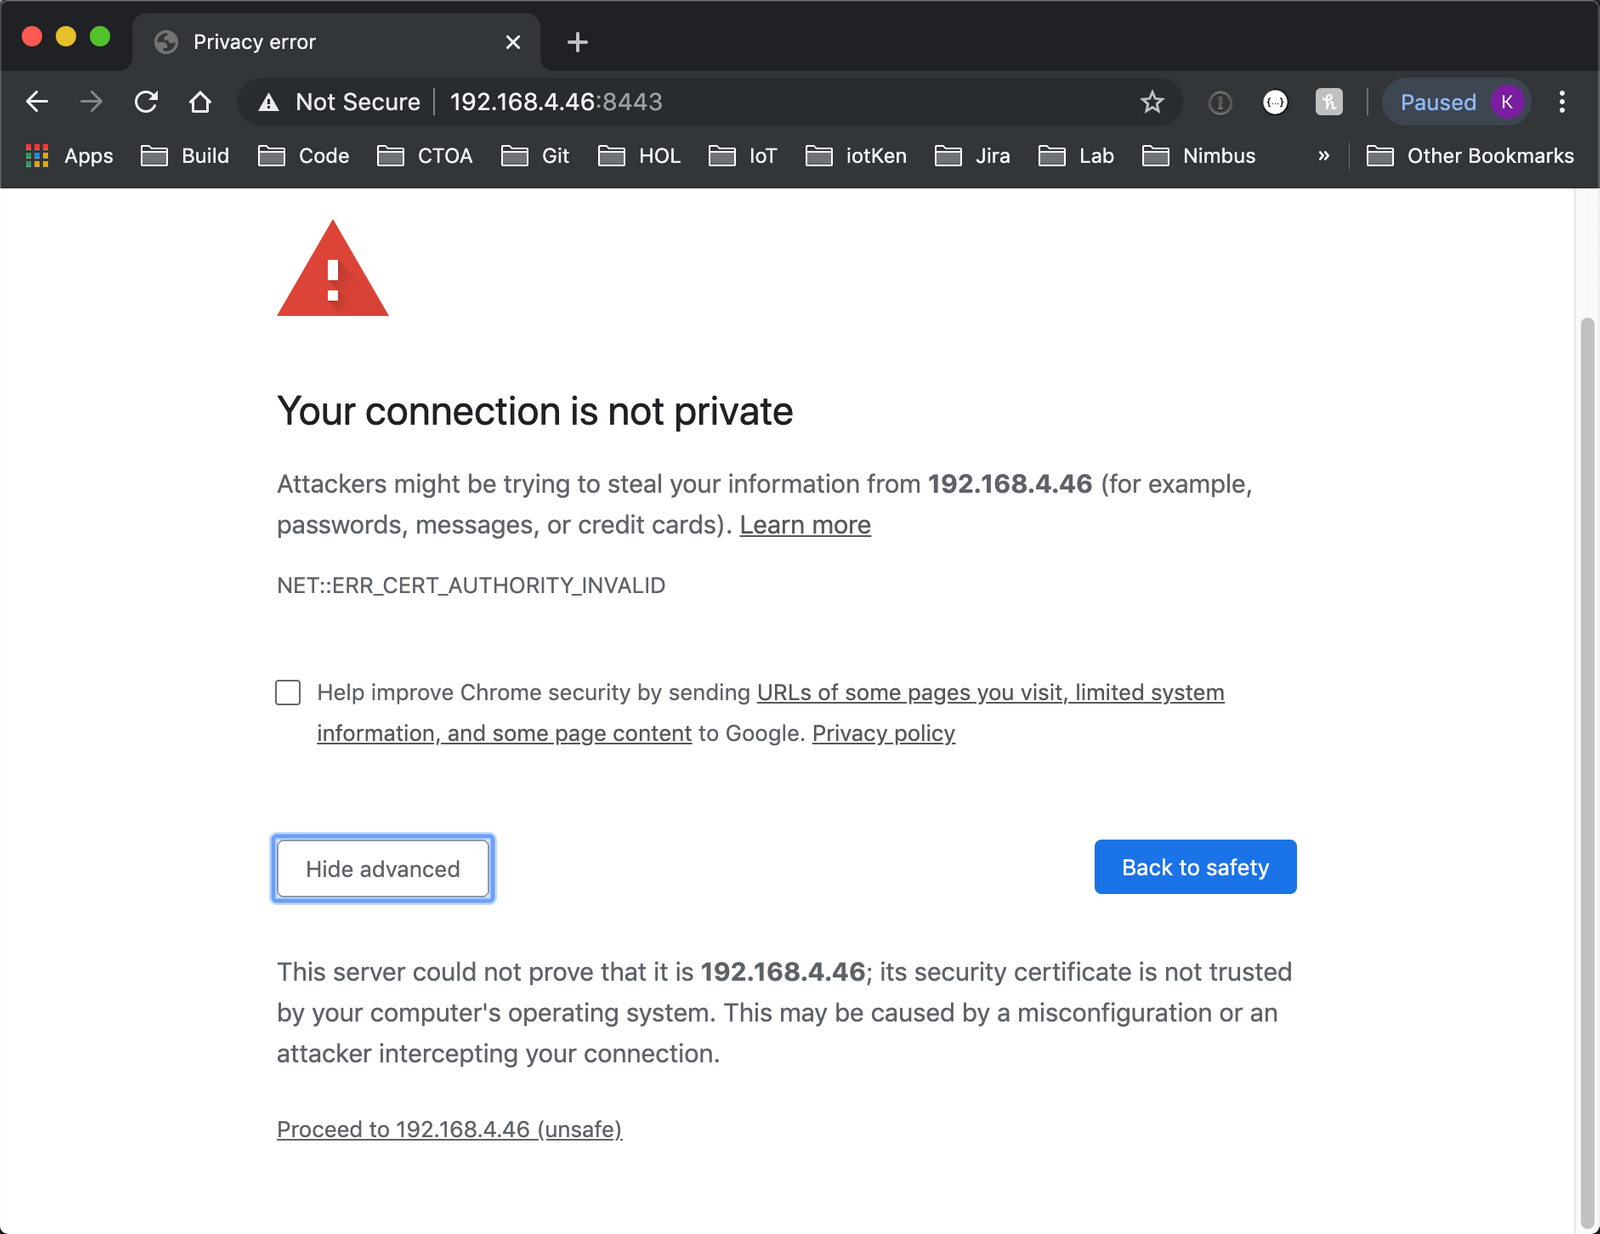
1B Select Advanced
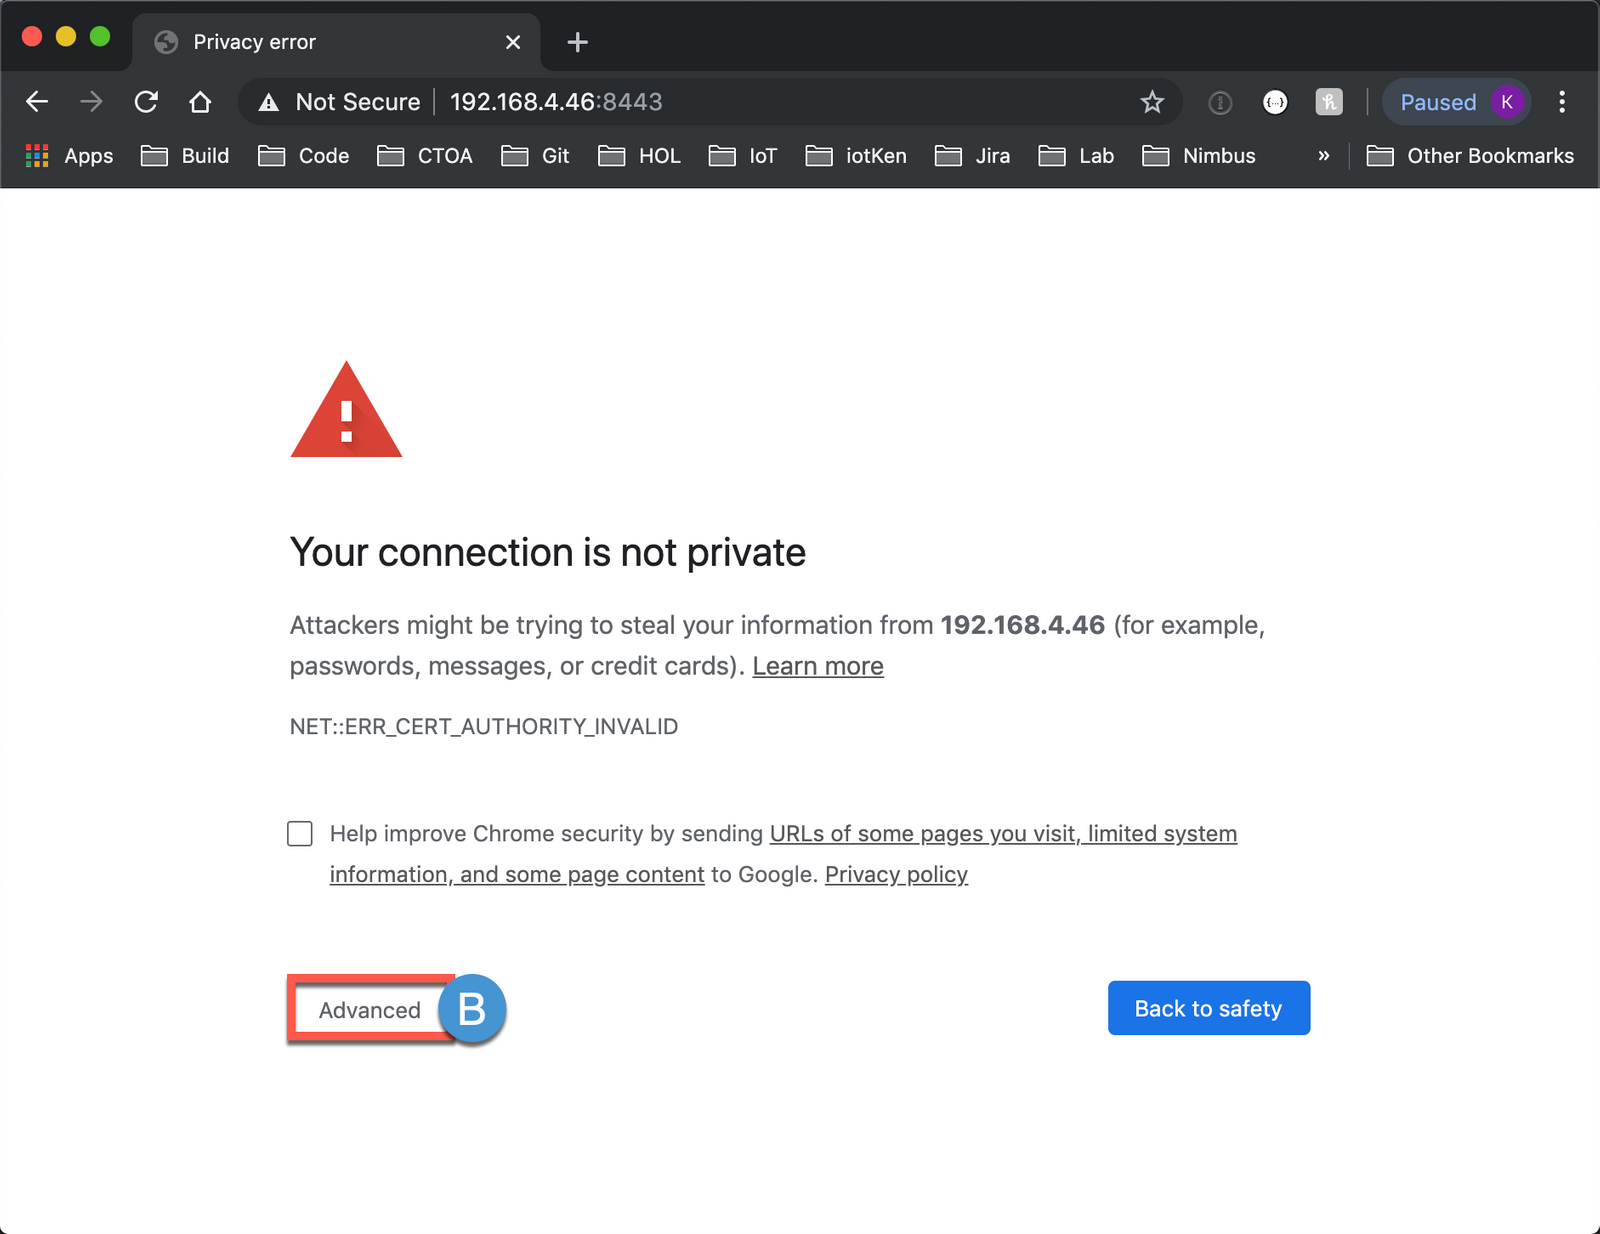
1C Select Proceed to (your ip address) (unsafe)
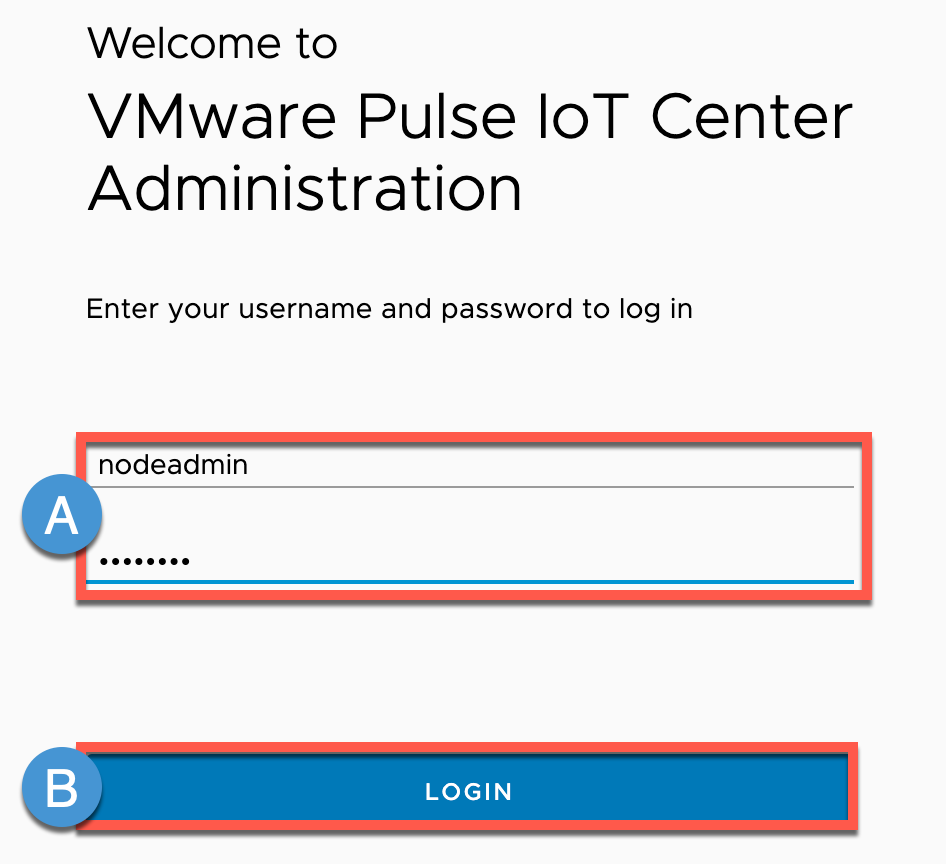
2A Enter Username: nodeadmin | Password: (password you indicated during VM creation)
2B Click LOGIN
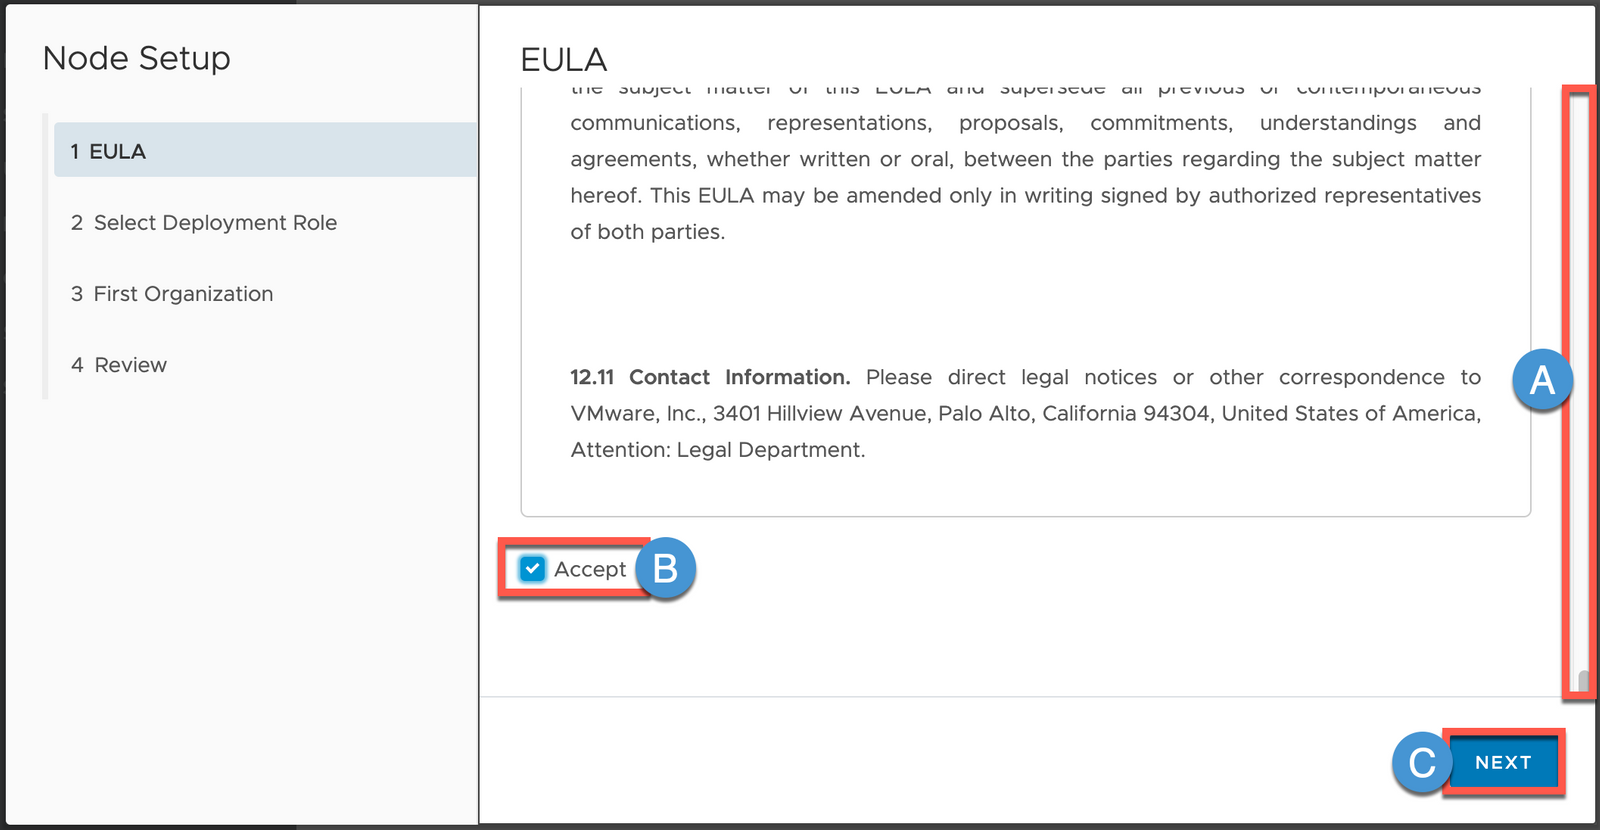
3A Scroll Down
3B Enable Accept checkbox
3C Click NEXT
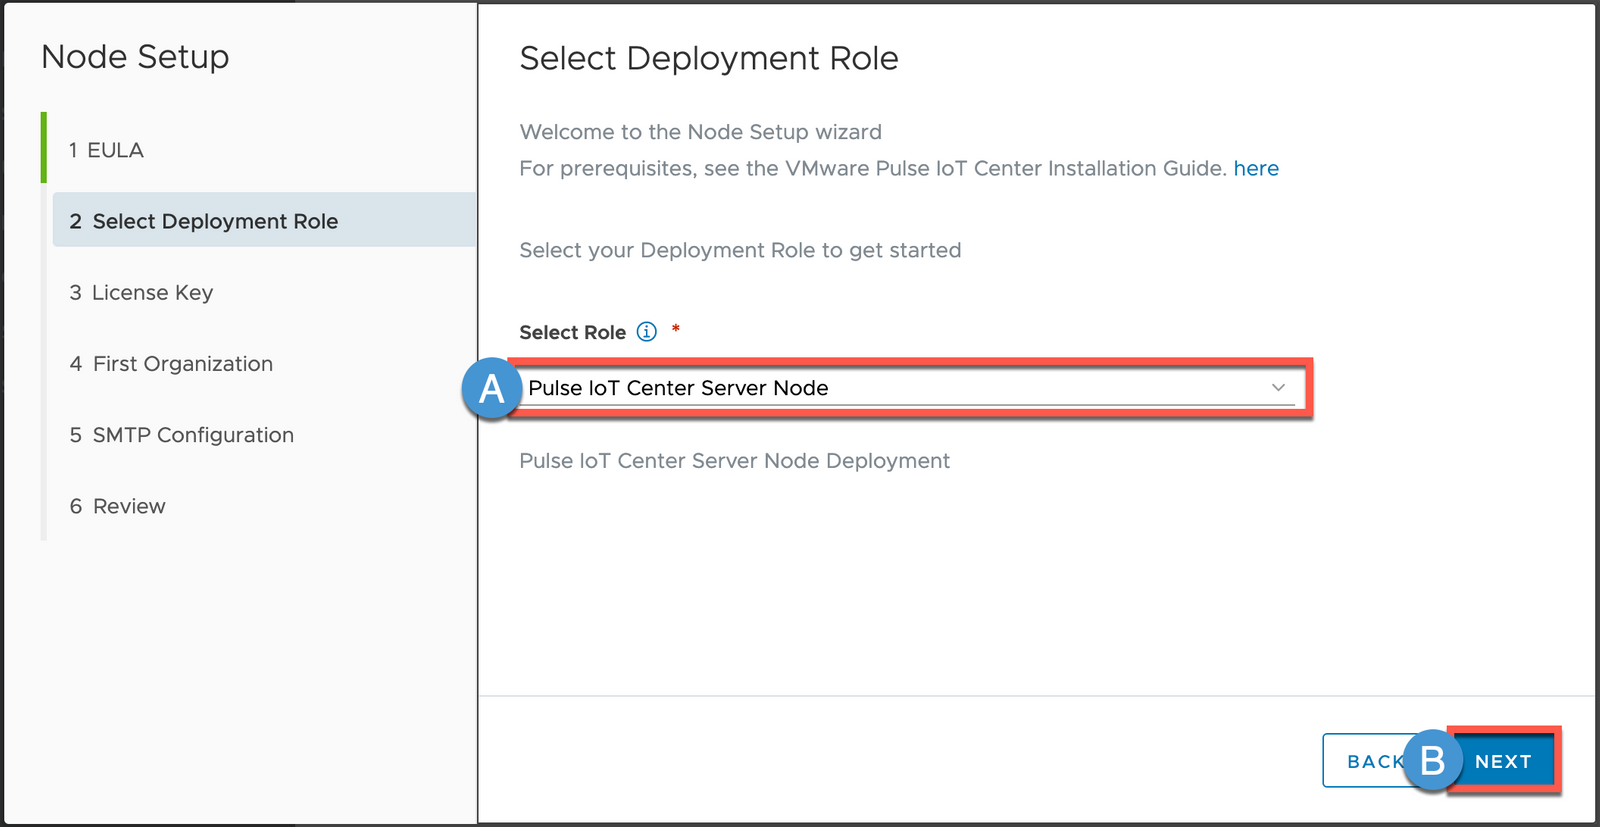
4A Select Role: Pulse IoT Center Server Node
4B Click NEXT
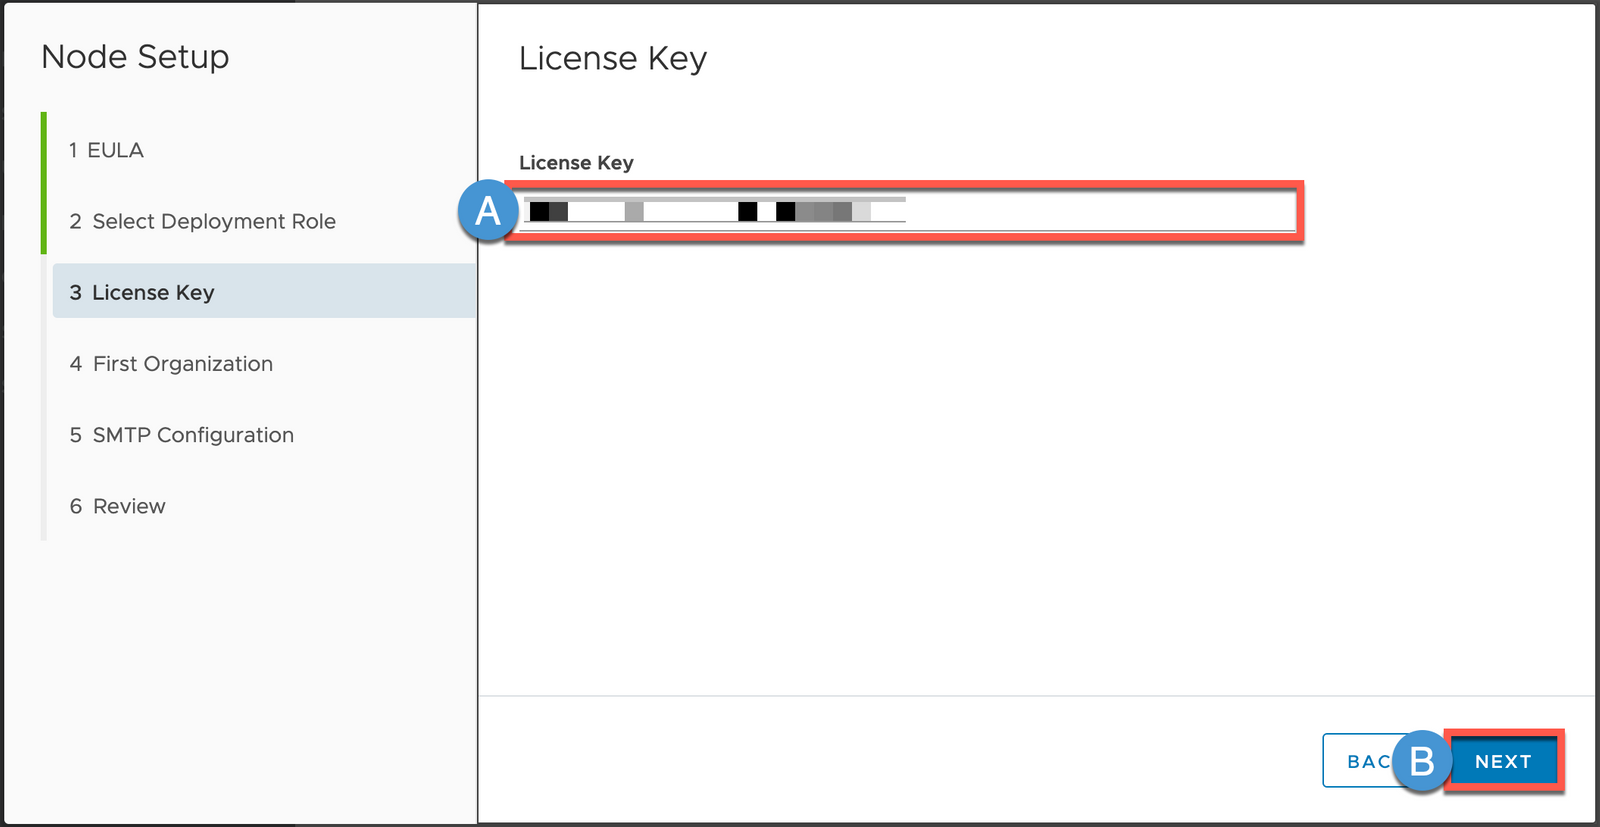
5A Enter License Key (or Leave Blank, which will result in Pulse utilizing a trial eval period)
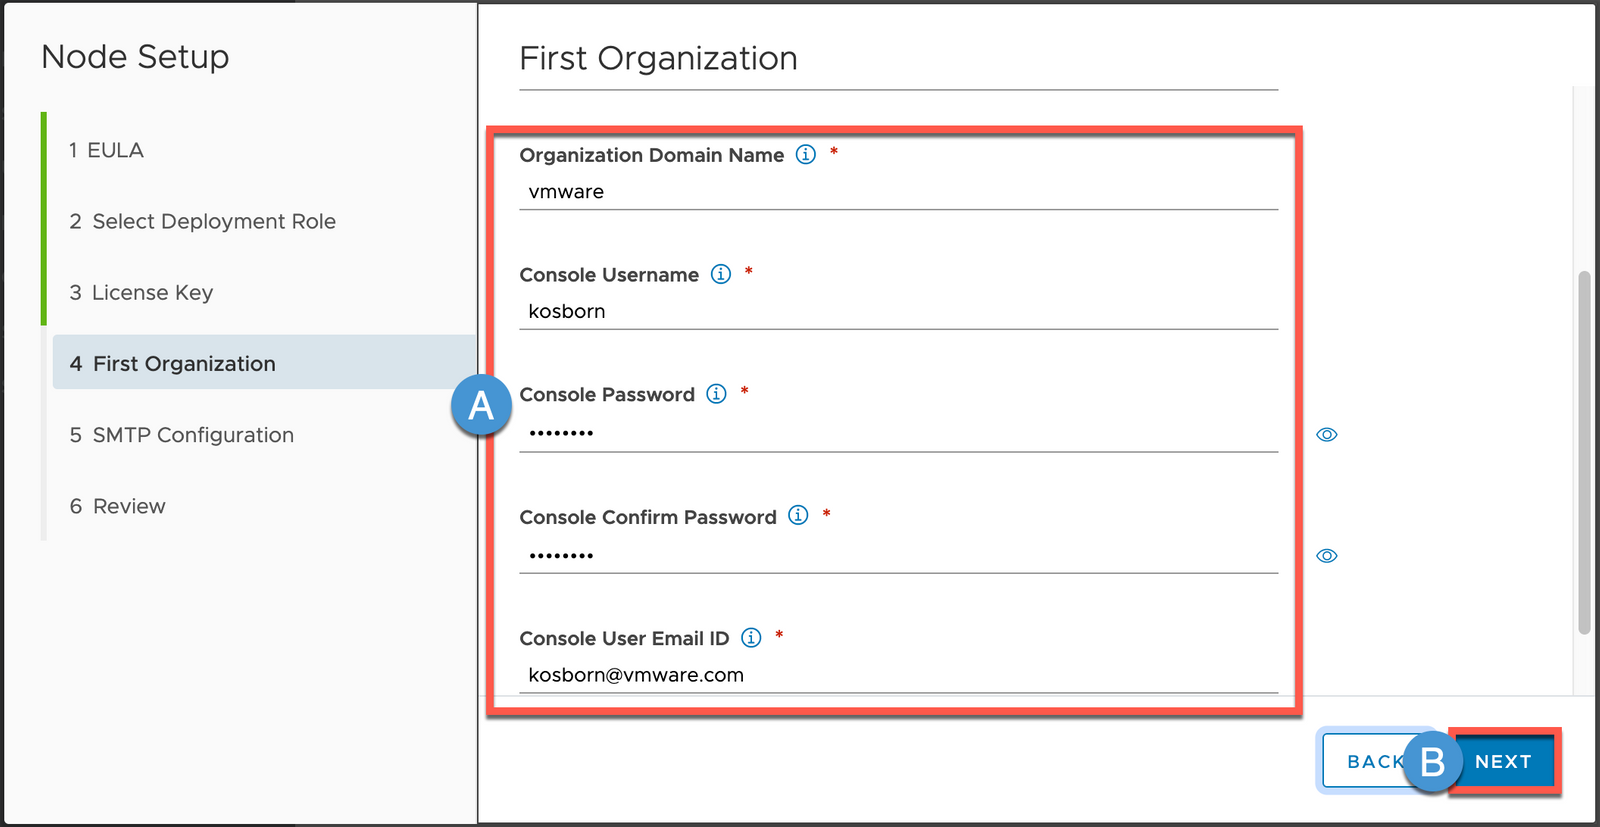
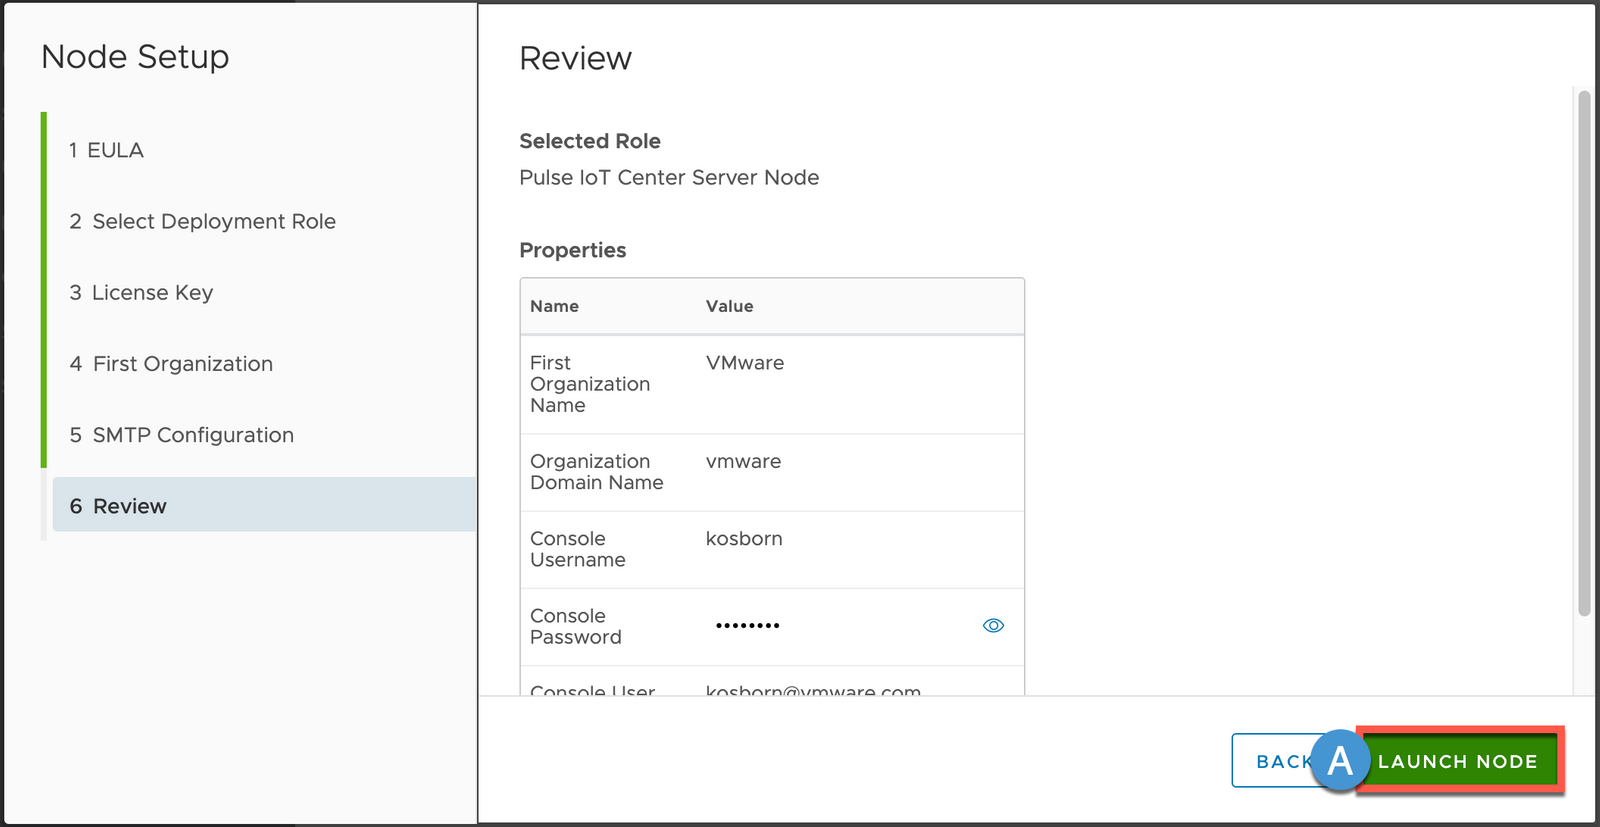
6A Enter First Organization Details (modify accordingly)
Frontend Load Balancer : (leave blank)
First Organization Name : VMware
Organization Domain Name : vmware
Console Username : kosborn
Console Password : VMware1!
Console User Email ID : kosborn@vmware.com
6B Click NEXT
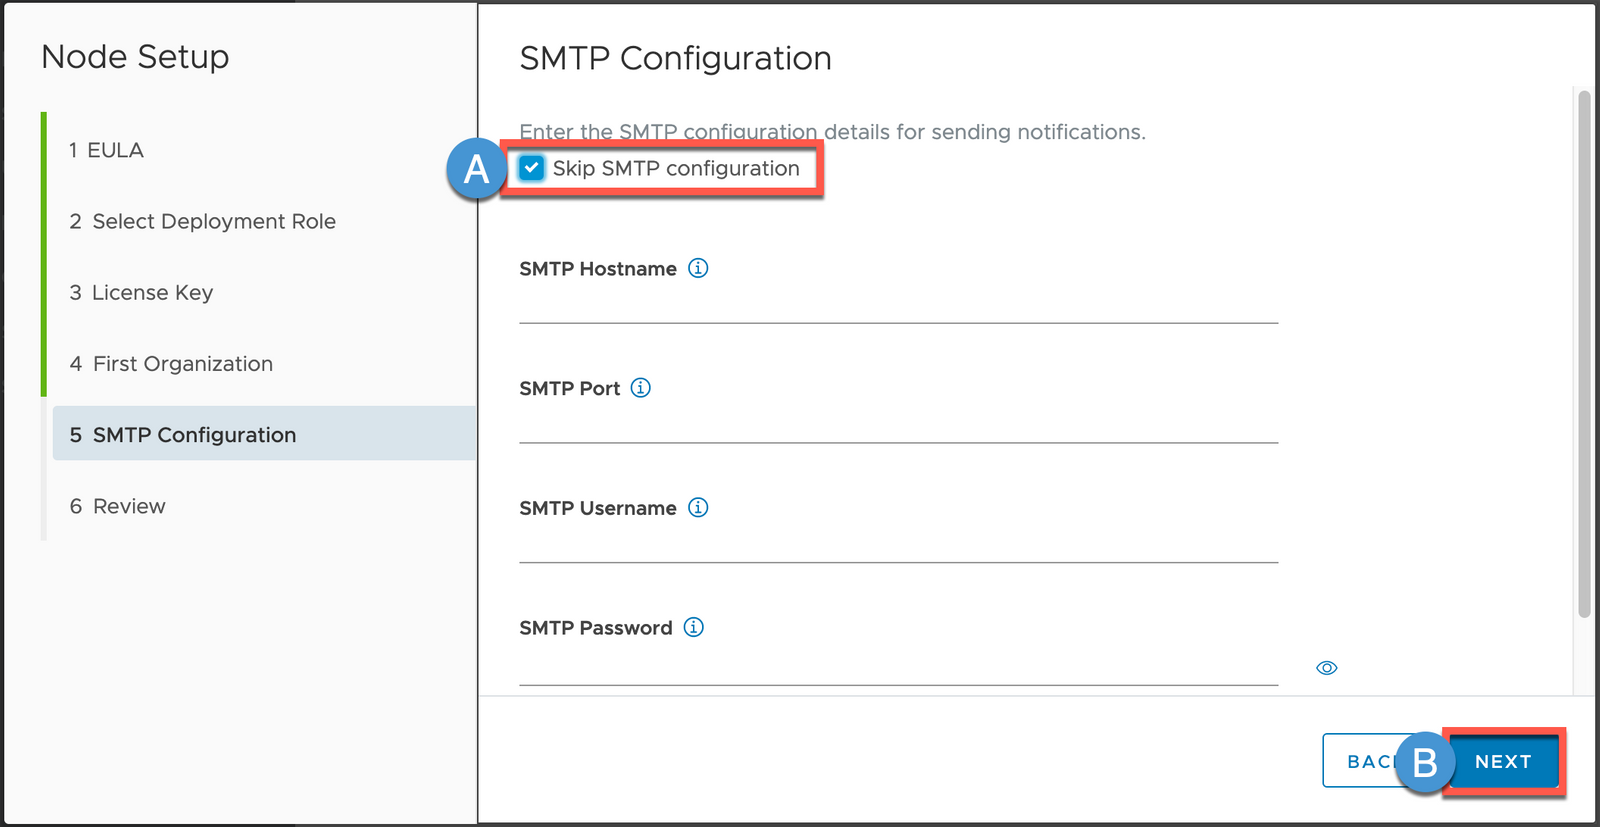
7A Enable Skip SMTP configuration checkbox
Note: If you would like to utilize an accessible SMTP Server, you can enter those details
7B Click NEXT
8A Click LAUNCH NODE
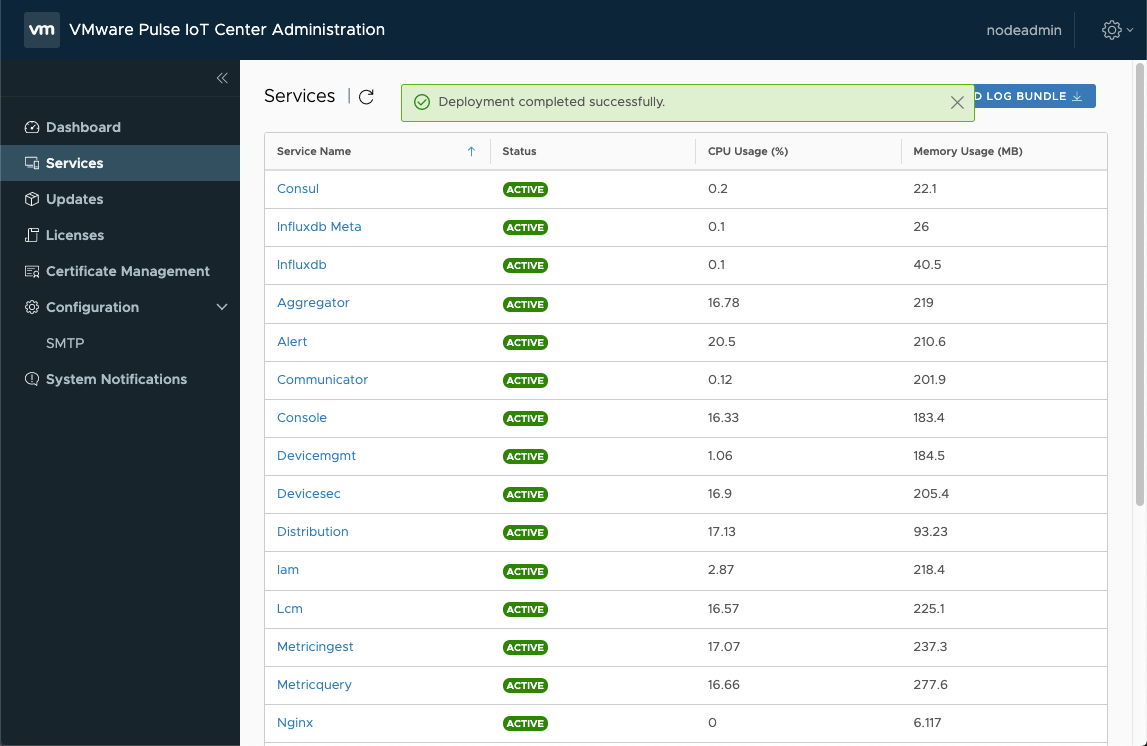
9A Monitor until complete (all Services shown as ACTIVE)
Login to Pulse IoT Center
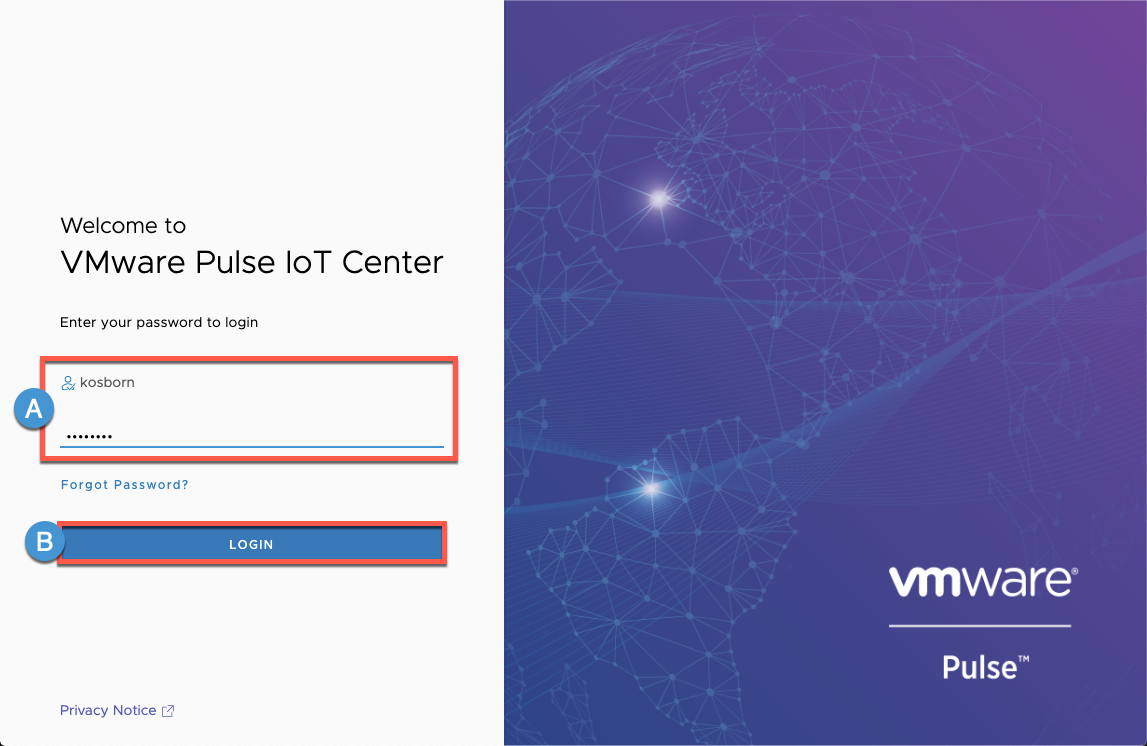
1A Navigate to https://(your pulse ip) and enter (username)@pulse.local and password configured earlier (bypass any ‘Your connection is not private’ warnings)
1B Click LOGIN
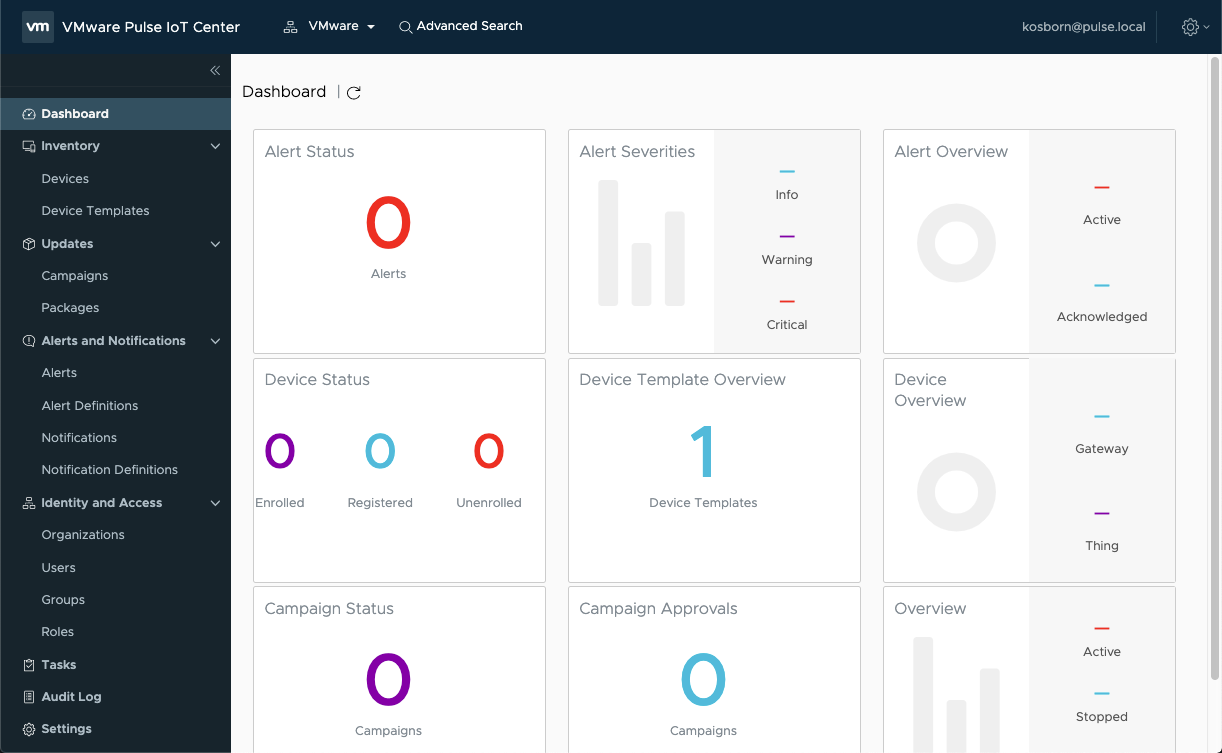
2A Note that Pulse Server is online and accessible
Thank You - this concludes our Lesson.
comments powered by Disqus