Photon OS 3.0 has been released and installing it on Raspberry Pi could not be easier, lets get started!
Pre-Requisites
- Raspberry Pi 3 Model B or Model B+ board and SD Card (WiFi USB Dongle, Optional)
- PC equipped with an SD Card Reader and software utilities to flash an image onto an SD-Card (Etcher recommended)
- Photon OS 3.0 Documentation
Prepare Photon Image
- Download and Extract the Photon OS Raspberry Pi image to the folder of your choice
- Connect your SD Card Reader and SD Card to your PC
- Launch Etcher, select extracted Image from Step 1 and click Flash!
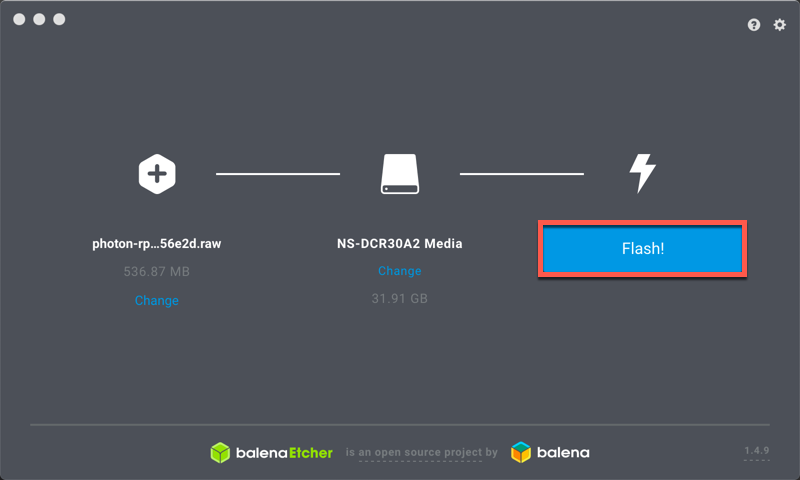
- Once complete, eject your SD Card and insert it into your Raspberry Pi
Raspberry Pi Initial Configuration
- Connect up your RPi including display, keyboard, local area network and power on.
- Change root password using initial login credentials (username: root | password: changeme)
Network Configuration
- Check the status of the network service by issuing the following command :
systemctl status systemd-networkd
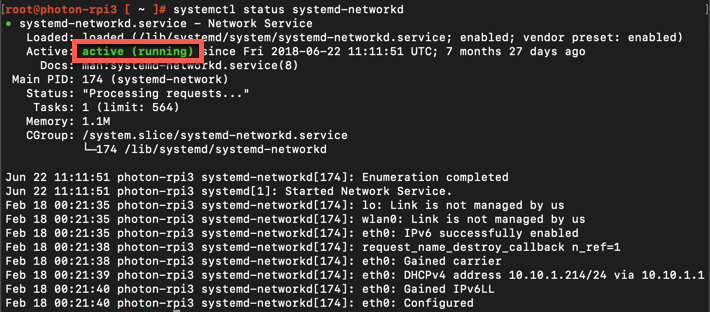
- Confirm that you have pulled a LAN Dynamic IP address :
ip addr

- Congrats! Your Photon OS 3.0 enabled RPi is now ready to Rock! You can peruse the official documentation and command line information here.
Optional: Docker Application Configuration (Nginx Web Server)
- Install Docker :
tdnf install docker

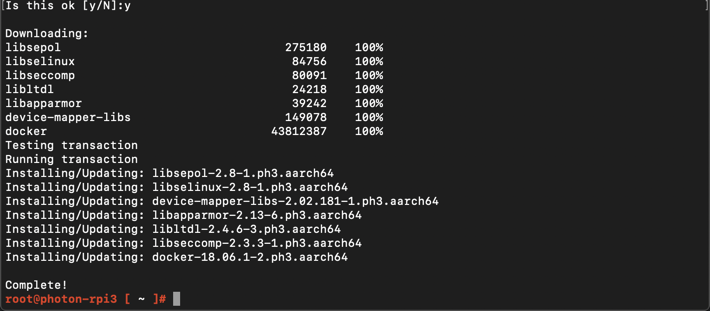
- Initialize Docker engine :
systemctl start docker
- Start Nginx Web Server :
docker run -d -p 80:80 nginx

- Connect/Validate Nginx Web Server locally:
curl http://localhost

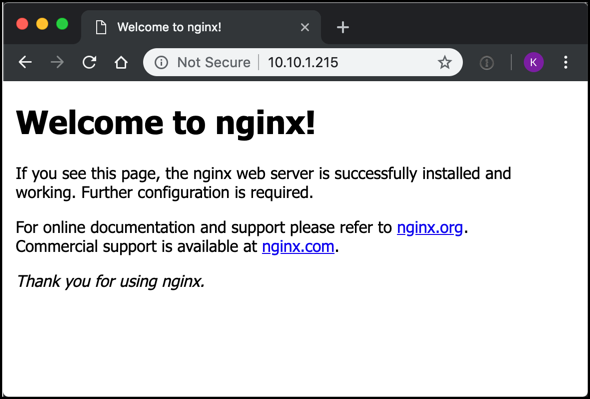
- Validate Remote accessibility via another workstation on your network (issue an ‘ ip addr ’ command if you need to identify the RPi eth0 interface) :
Optional: Configure Wireless Networking
- Start the wpa_supplicant service so that you can utilize wpa commands to configure WiFi :
systemctl start wpa_supplicant@wlan0.service
- Connect to wpa_cli :
wpa_cli -i wlan0

- Scan for available wireless networks :
scan
- Check list of scanned networks :
scan_results

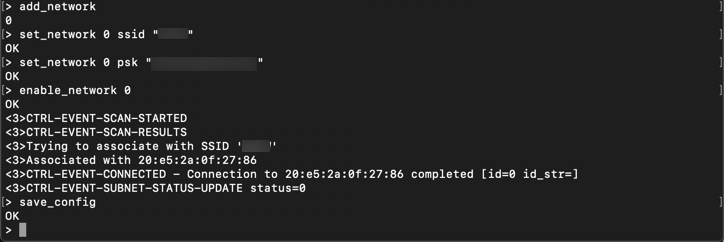
- Add the network (this command returns your network ID) :
add_network
- Add the SSID of your choice using your network ID :
set_network {network ID} ssid {"ssid_name"}
- For a WPA2 network, set the passphrase :
set_network {network ID} psk {"passphrase"}
- Enable the network :
enable_network {network ID}
- Save the config :
save_config
- Exit wpa_cli using :
quit
- Create a /etc/systemd/network/98-dhcp-wlan.network file with the following contents :
[Match]Name=wlan*[Network]DHCP=yesIPv6AcceptRA=no
- Change permissions on the newly created file :
chmod 644 98-dhcp-wlan.network
- Restart systemd-networkd using :
systemctl restart systemd-networkd

- Set wpa_supplicant service to start at RPi boot :
systemctl enable wpa_supplicant@wlan0
- Validate WiFi Connectivity by dropping the eth0 port or unplugging the LAN cable 🙂
ifconfig eth0 down
- You can use the Photon OS default package manager (Tiny Dandified Yum) to check for an external (Internet) update via the WiFi interface for the Photon Management Daemon Command-line interface (pmd-cli) :
tdnf install pmd-cli
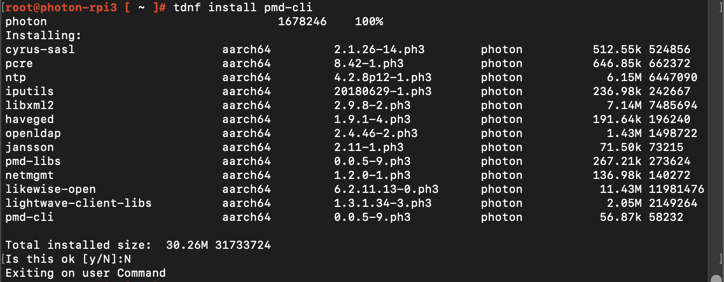
(It is not necessary to complete this command unless you want to).
Where to go for more information:
Photon OS GitHub
comments powered by Disqus